Start an Atlassian Jira Software Data Center with Docker for local testing during plugin development.
It starts a PostgreSQL Database, two Jira Software cluster nodes and Apache2 HTTPD as sticky session loadbalancer. The shared jira-home is handled via a shared Docker volume mounts.
- All Docker containers run internally as non-root with fixed UID 10777 and GID 10777.
- The Atlassian Docker container use UID and GID 2001.
- You need Linux or macOS.
- Basic unix-tools like
wc,awk,curl,tr,headandbashmust be installed. - Bash 3 or 4 must be installed.
- Latest Docker version must be installed.
- docker-compose must be installed.
(1) Add cluster hostname alias
Add the alias on your Docker-Host machine.
sudo su
echo "127.0.0.1  jira-cluster-8134-lb" >> /etc/hosts
If you like to work with your cluster from your local network, use the servers public IP instead.
(2) Enable Network Forwarding (Multicast)
Jira Data Center uses EHCache Multicast networking features. We need to enable IP Forwarding.
On macOS® you do this with:
sudo sysctl -w net.inet.ip.forwarding=1
(3) Create work directories
sudo mkdir -p /opt/jira-cluster/
NORMALUSER=$(whoami)
sudo chown $NORMALUSER /opt/jira-cluster/
(4) On macOS add /opt/jira-cluster/ to Docker Settings
Under Docker Settings add /opt/jira-cluster/ to File Sharing folders
and restart docker.
(1) Start a Jira Data Center 8.13.4 Cluster
rm -rf /opt/jira-cluster/8.13.4 | true
mkdir -p /opt/jira-cluster/8.13.4
mkdir -p /opt/jira-cluster/8.13.4/jira-home-shared
mkdir -p /opt/jira-cluster/8.13.4/jira-home-node1
mkdir -p /opt/jira-cluster/8.13.4/jira-home-node2
# If on linux fix permissions for volume mounts
# sudo chown 2001:2001 /opt/jira-cluster/8.13.4/jira-*
Now download the docker-compose-one-node.yml file which defines the nodes. We use the official Atlassian Docker Jira Software images.
cd /opt/jira-cluster/8.13.4
curl -so docker-compose-one-node.yml \
"https://raw.githubusercontent.com/codeclou/docker-atlassian-jira-\
data-center/master/versions/8.13.4/docker-compose-one-node.yml"

docker-compose -f docker-compose-one-node.yml up --detach

# if some longer HTTP 503, try restarting Loadbalancer
docker-compose -f docker-compose-one-node.yml restart jira-cluster-8134-lb
This will start one Jira Cluster node, a loadbalancer and a PostgreSQL database.
(2) Browse to Jira Software
- Open a browser to http://jira-cluster-8134-lb:18134/
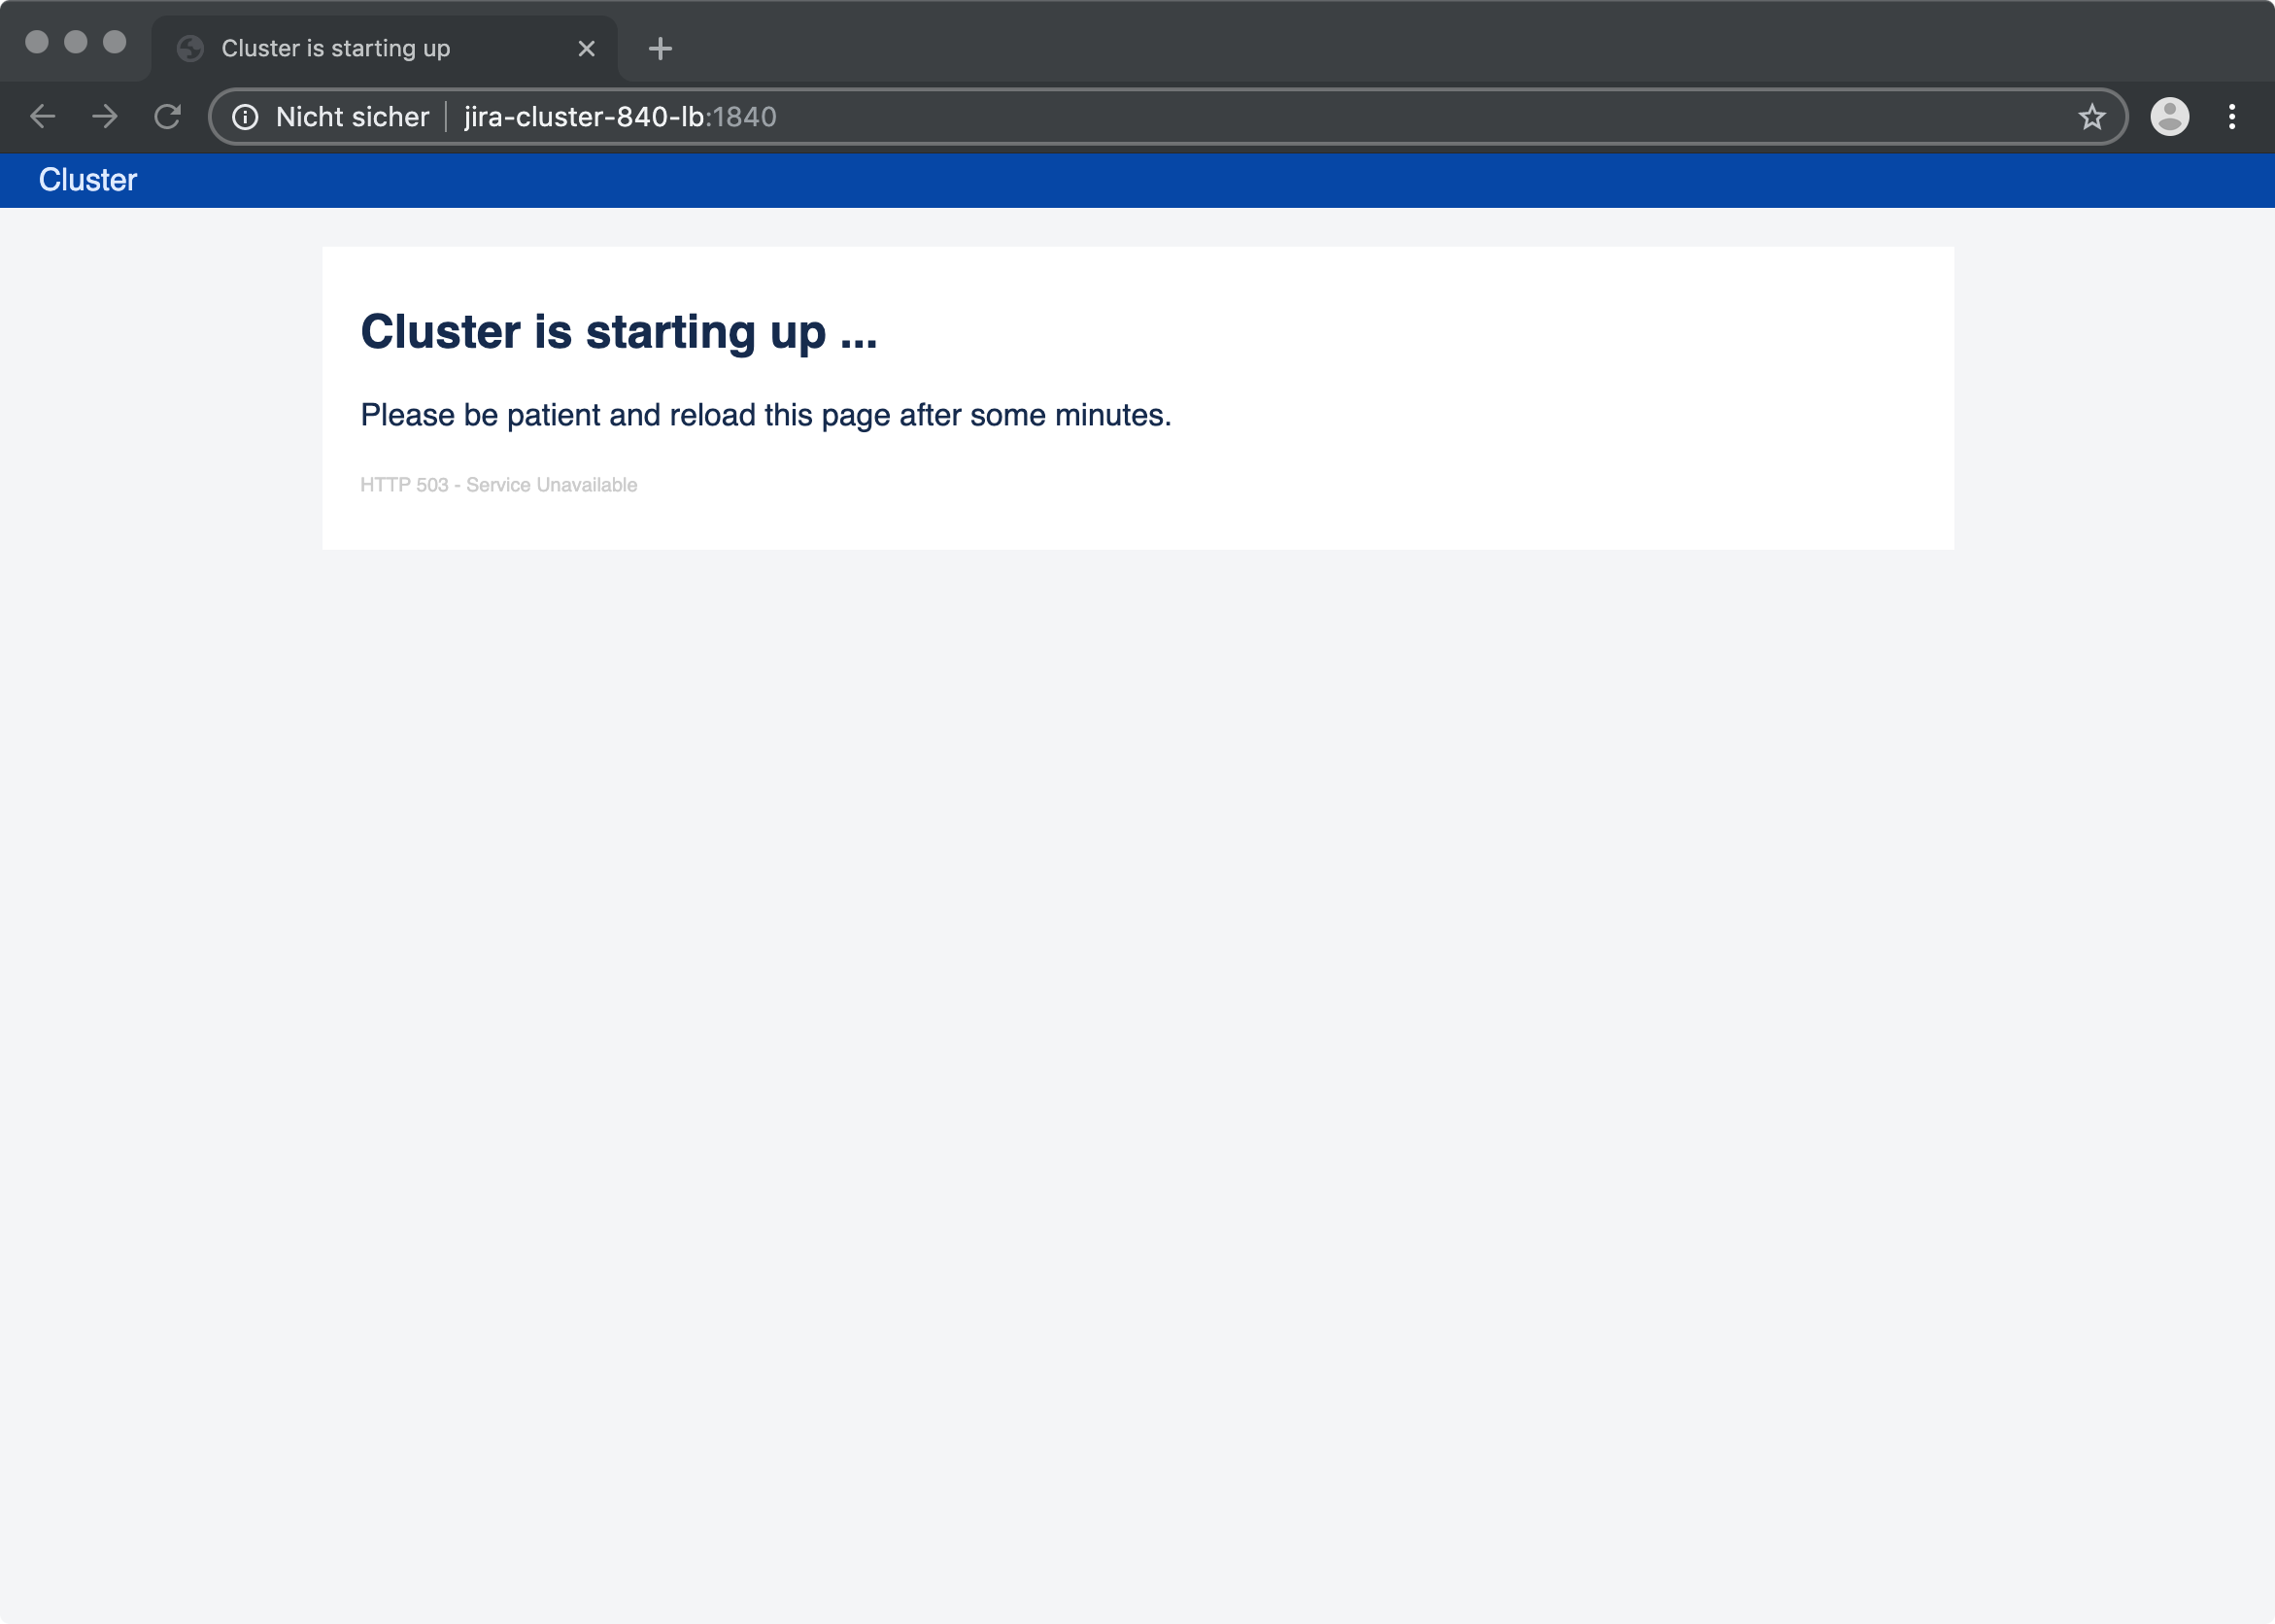
- It might take several minutes for the cluster to fully start up.
(3) Check Containers
Check if all containers have started with:
docker psShould show something like:
CONTAINER ID        IMAGE                           COMMAND                  PORTS                    NAMES
15ed1263c551        loadbalancer:v2                 "/work-private/docke…"   0.0.0.0:18134->18134/tcp   jira-cluster-8134-lb
2994d0d680ad        atlassian/jira-software:8.13.4   "/tini -- /entrypoin…"   8080/tcp                 jira-cluster-8134-node1
572fcaf9f669        postgres:9.6                    "docker-entrypoint.s…"   5432/tcp                 jira-cluster-8134-db
You can check the logs of all containers by calling e.g.:
docker-compose -f docker-compose-one-node.yml logs
(4) Start Post Configuration
Once the cluster is fully started up, you need to configure Jira Software in the browser.
Go to http://jira-cluster-8134-lb:18134/ and make sure you enabled cookies (sticky session).
Wait for Jira to start up. Simply reload this page after a few minutes.
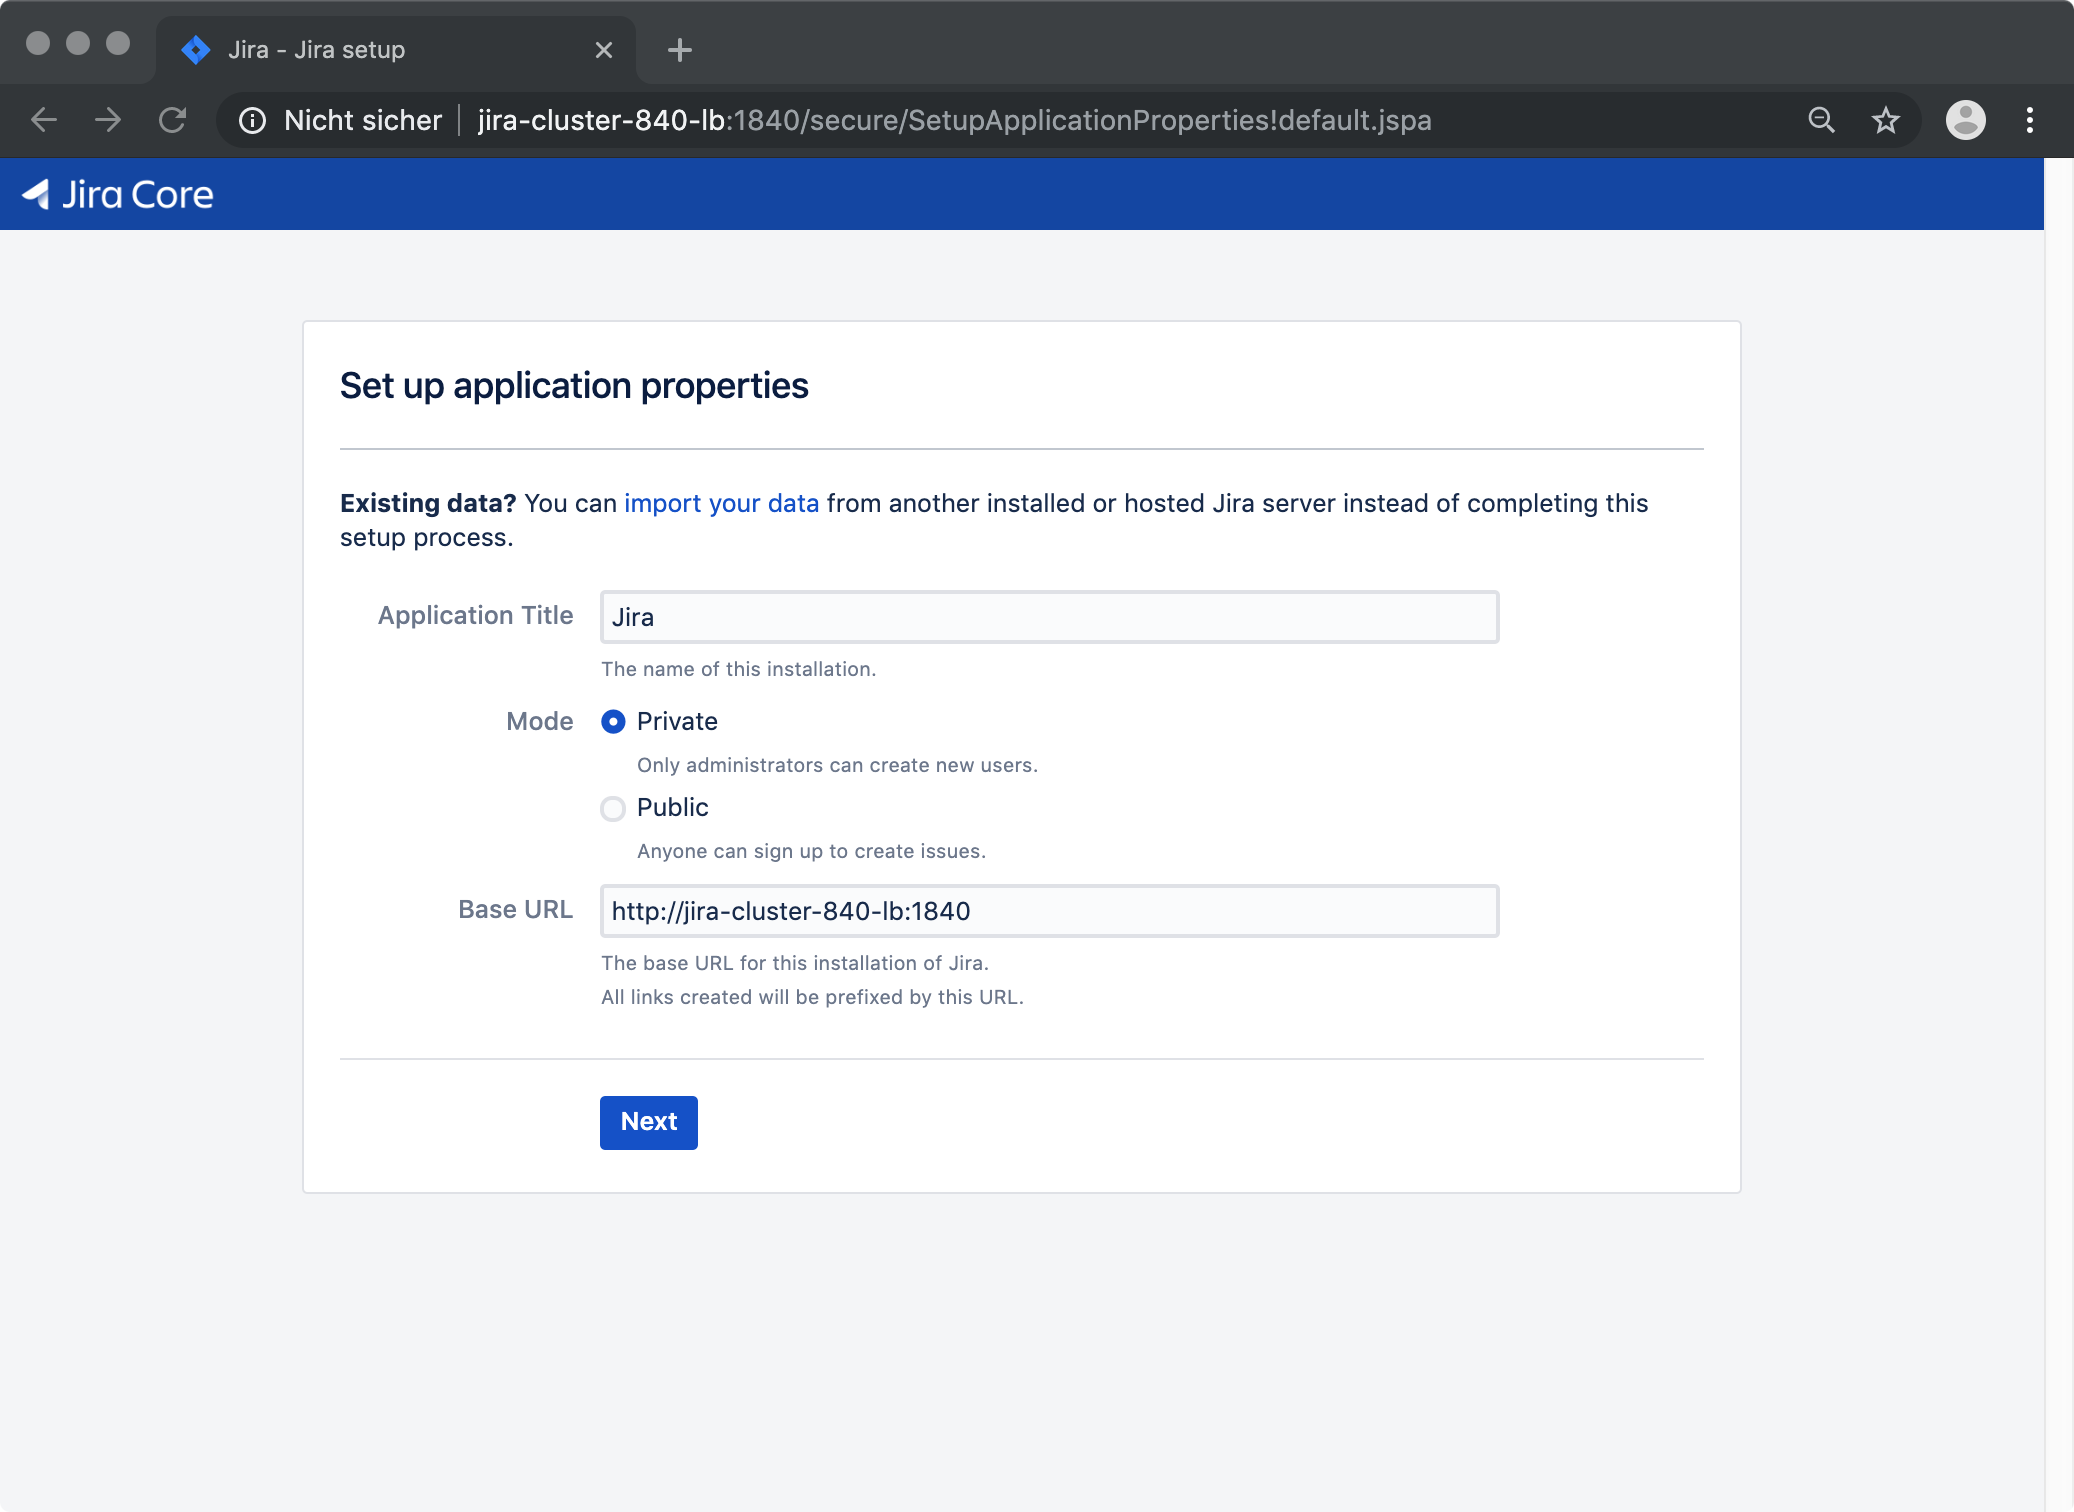
Set the baseUrl to http://jira-cluster-8134-lb:18134 and continue.
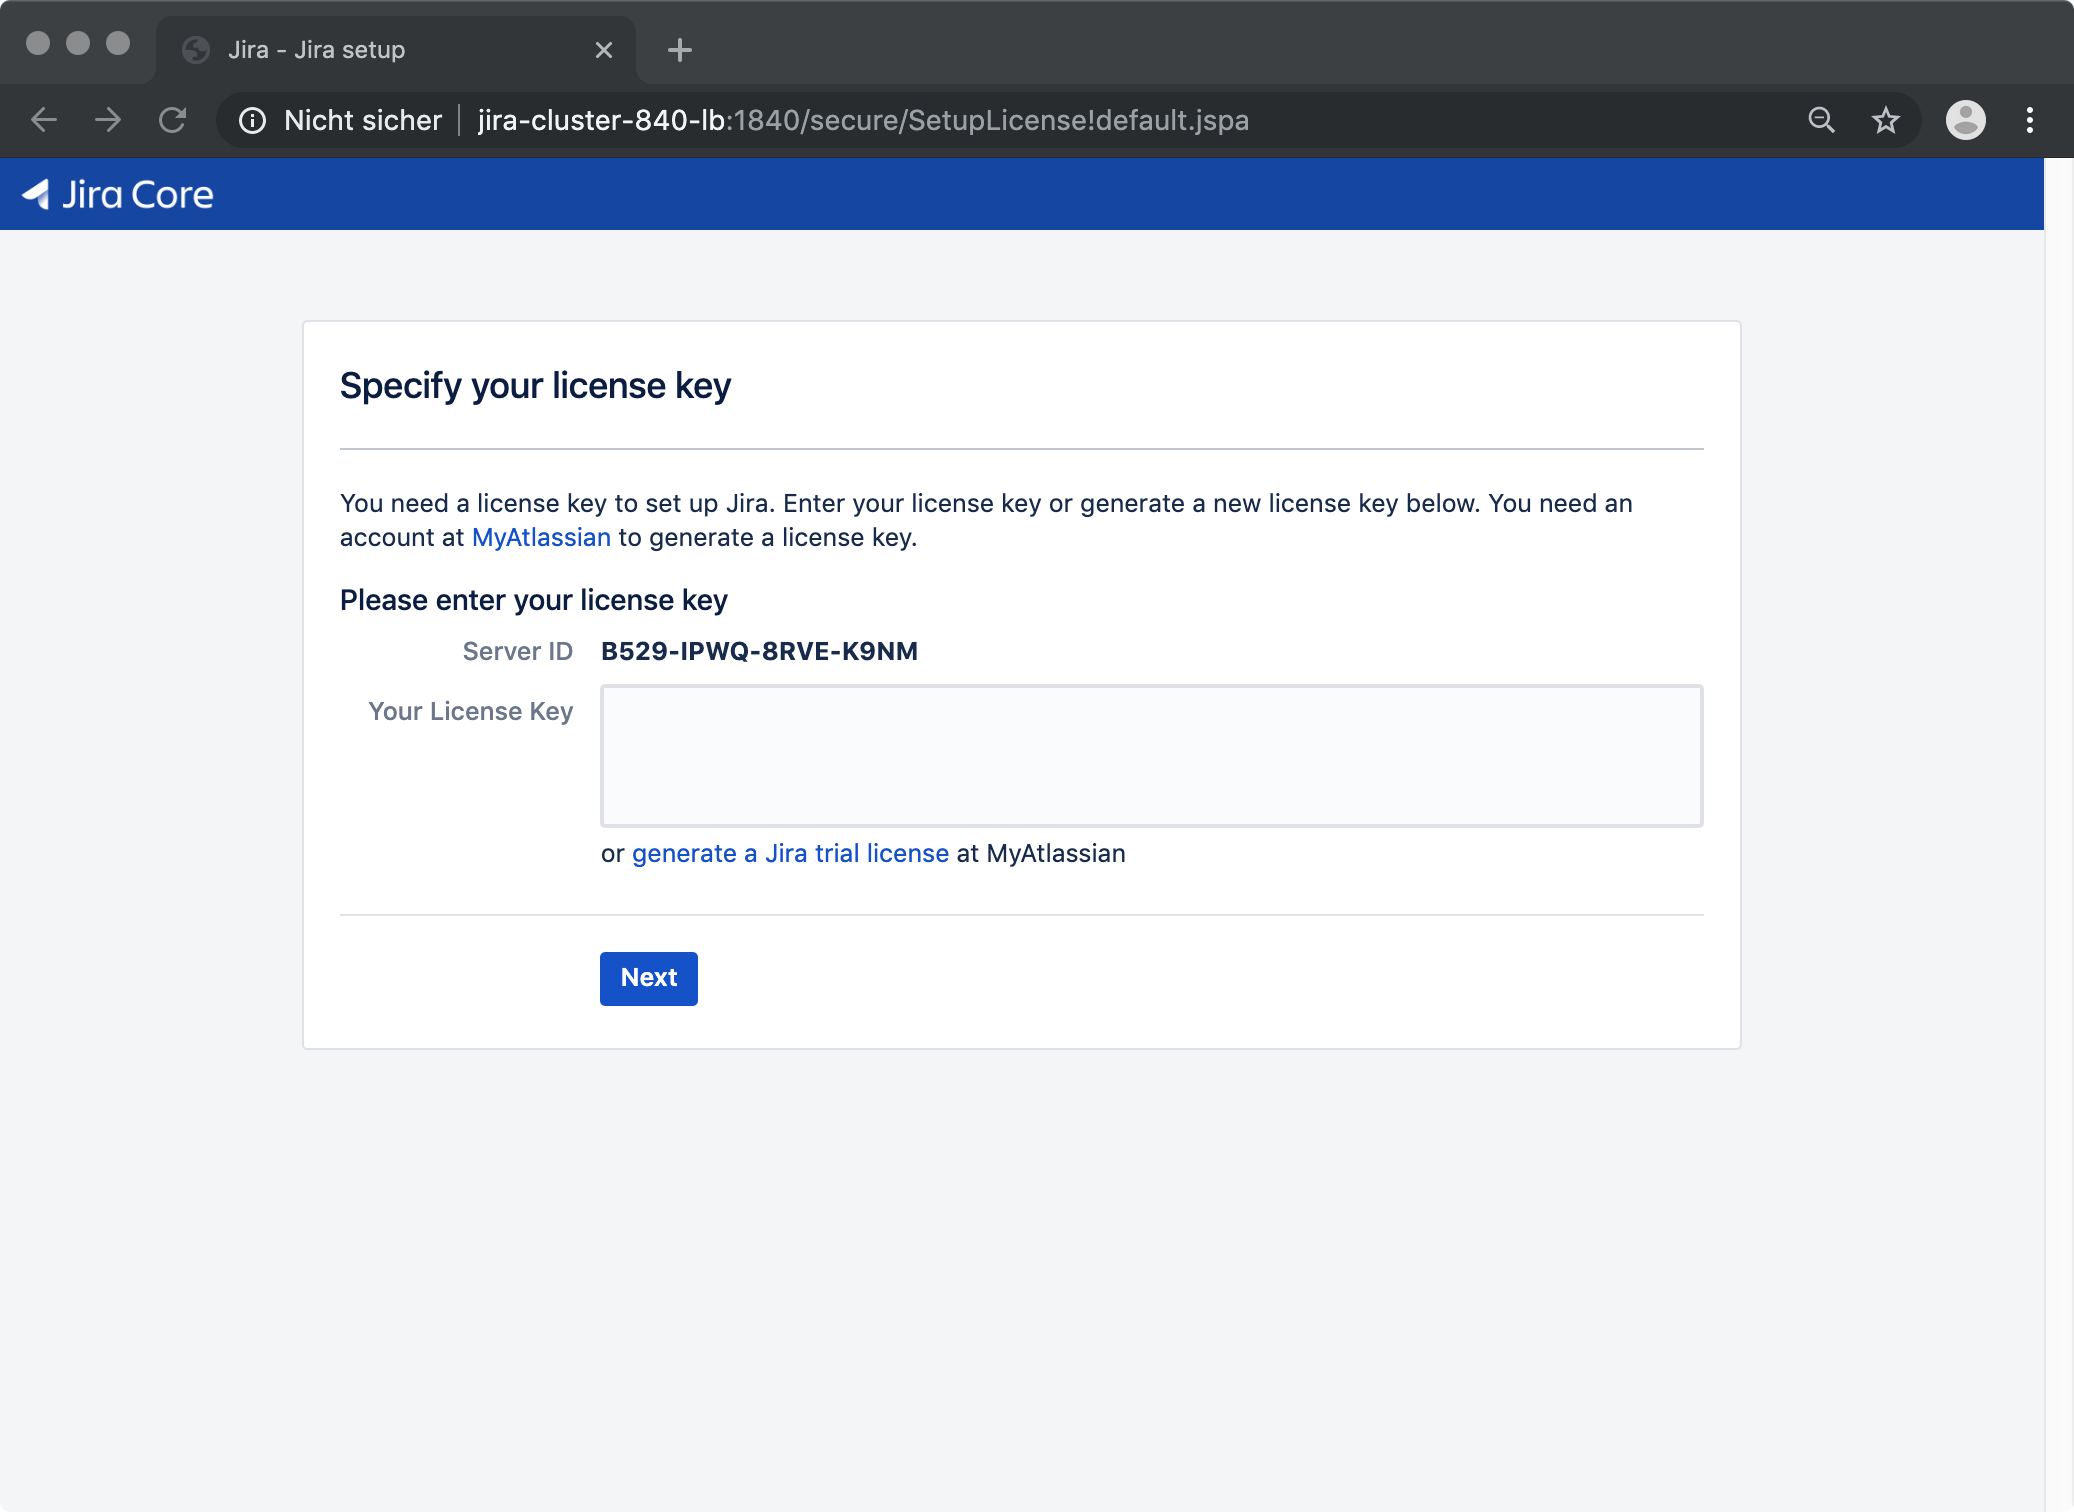
Use a Data Center license. Either an Evaluation License or a Timebomb License.
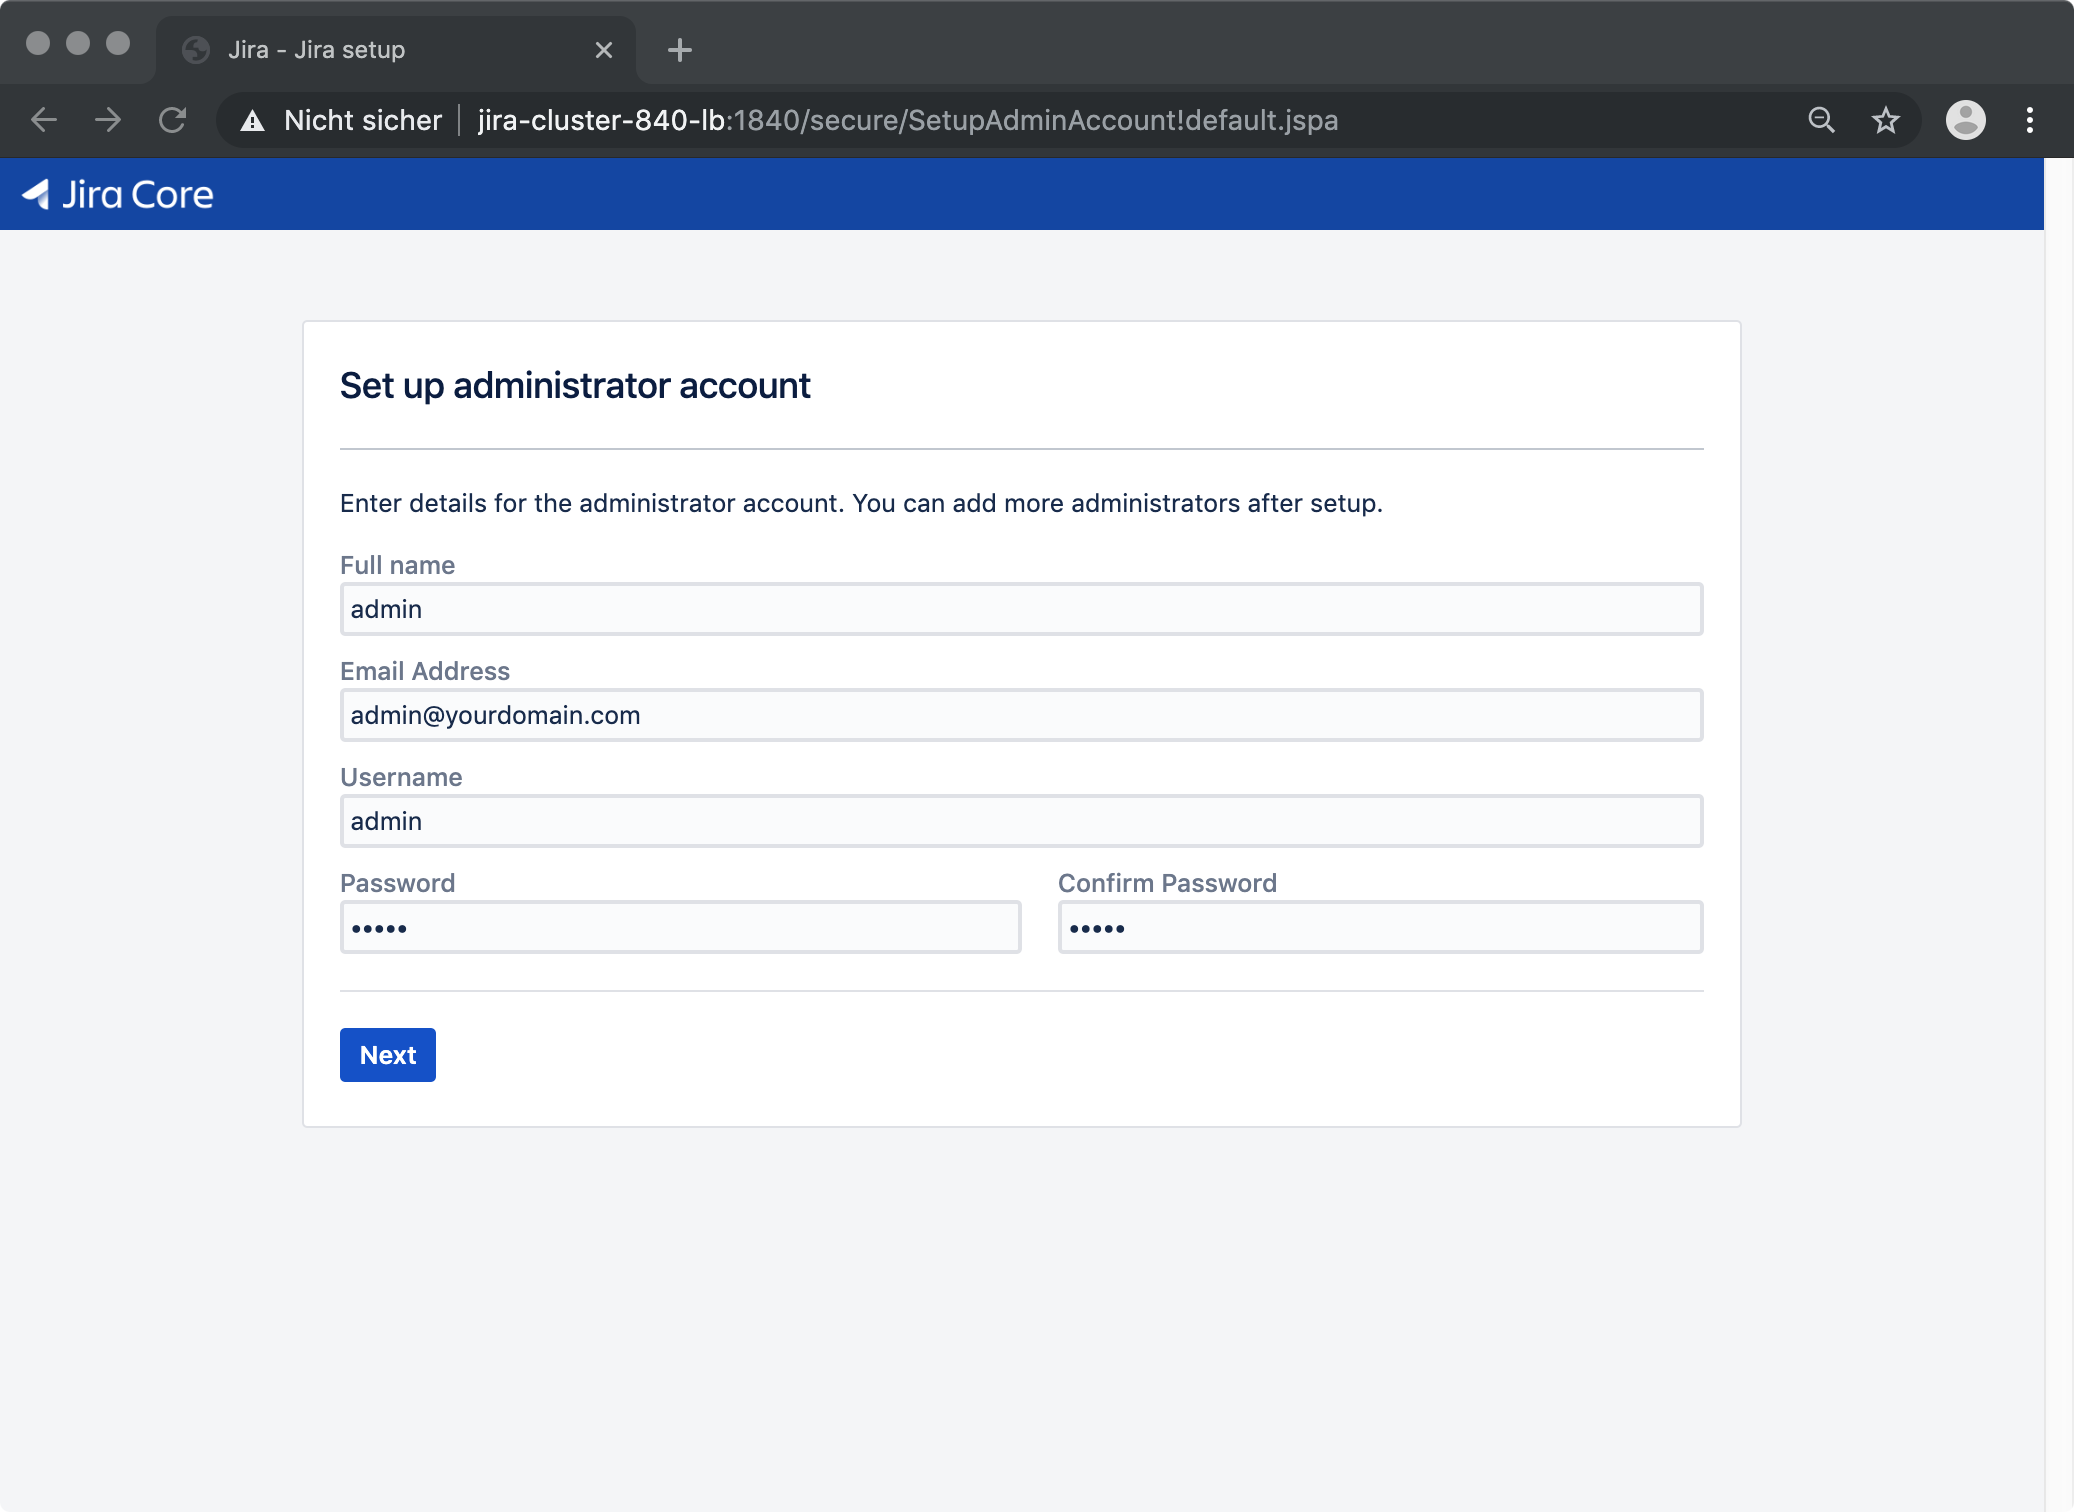
Setup your admin account. Usually username admin and password admin.
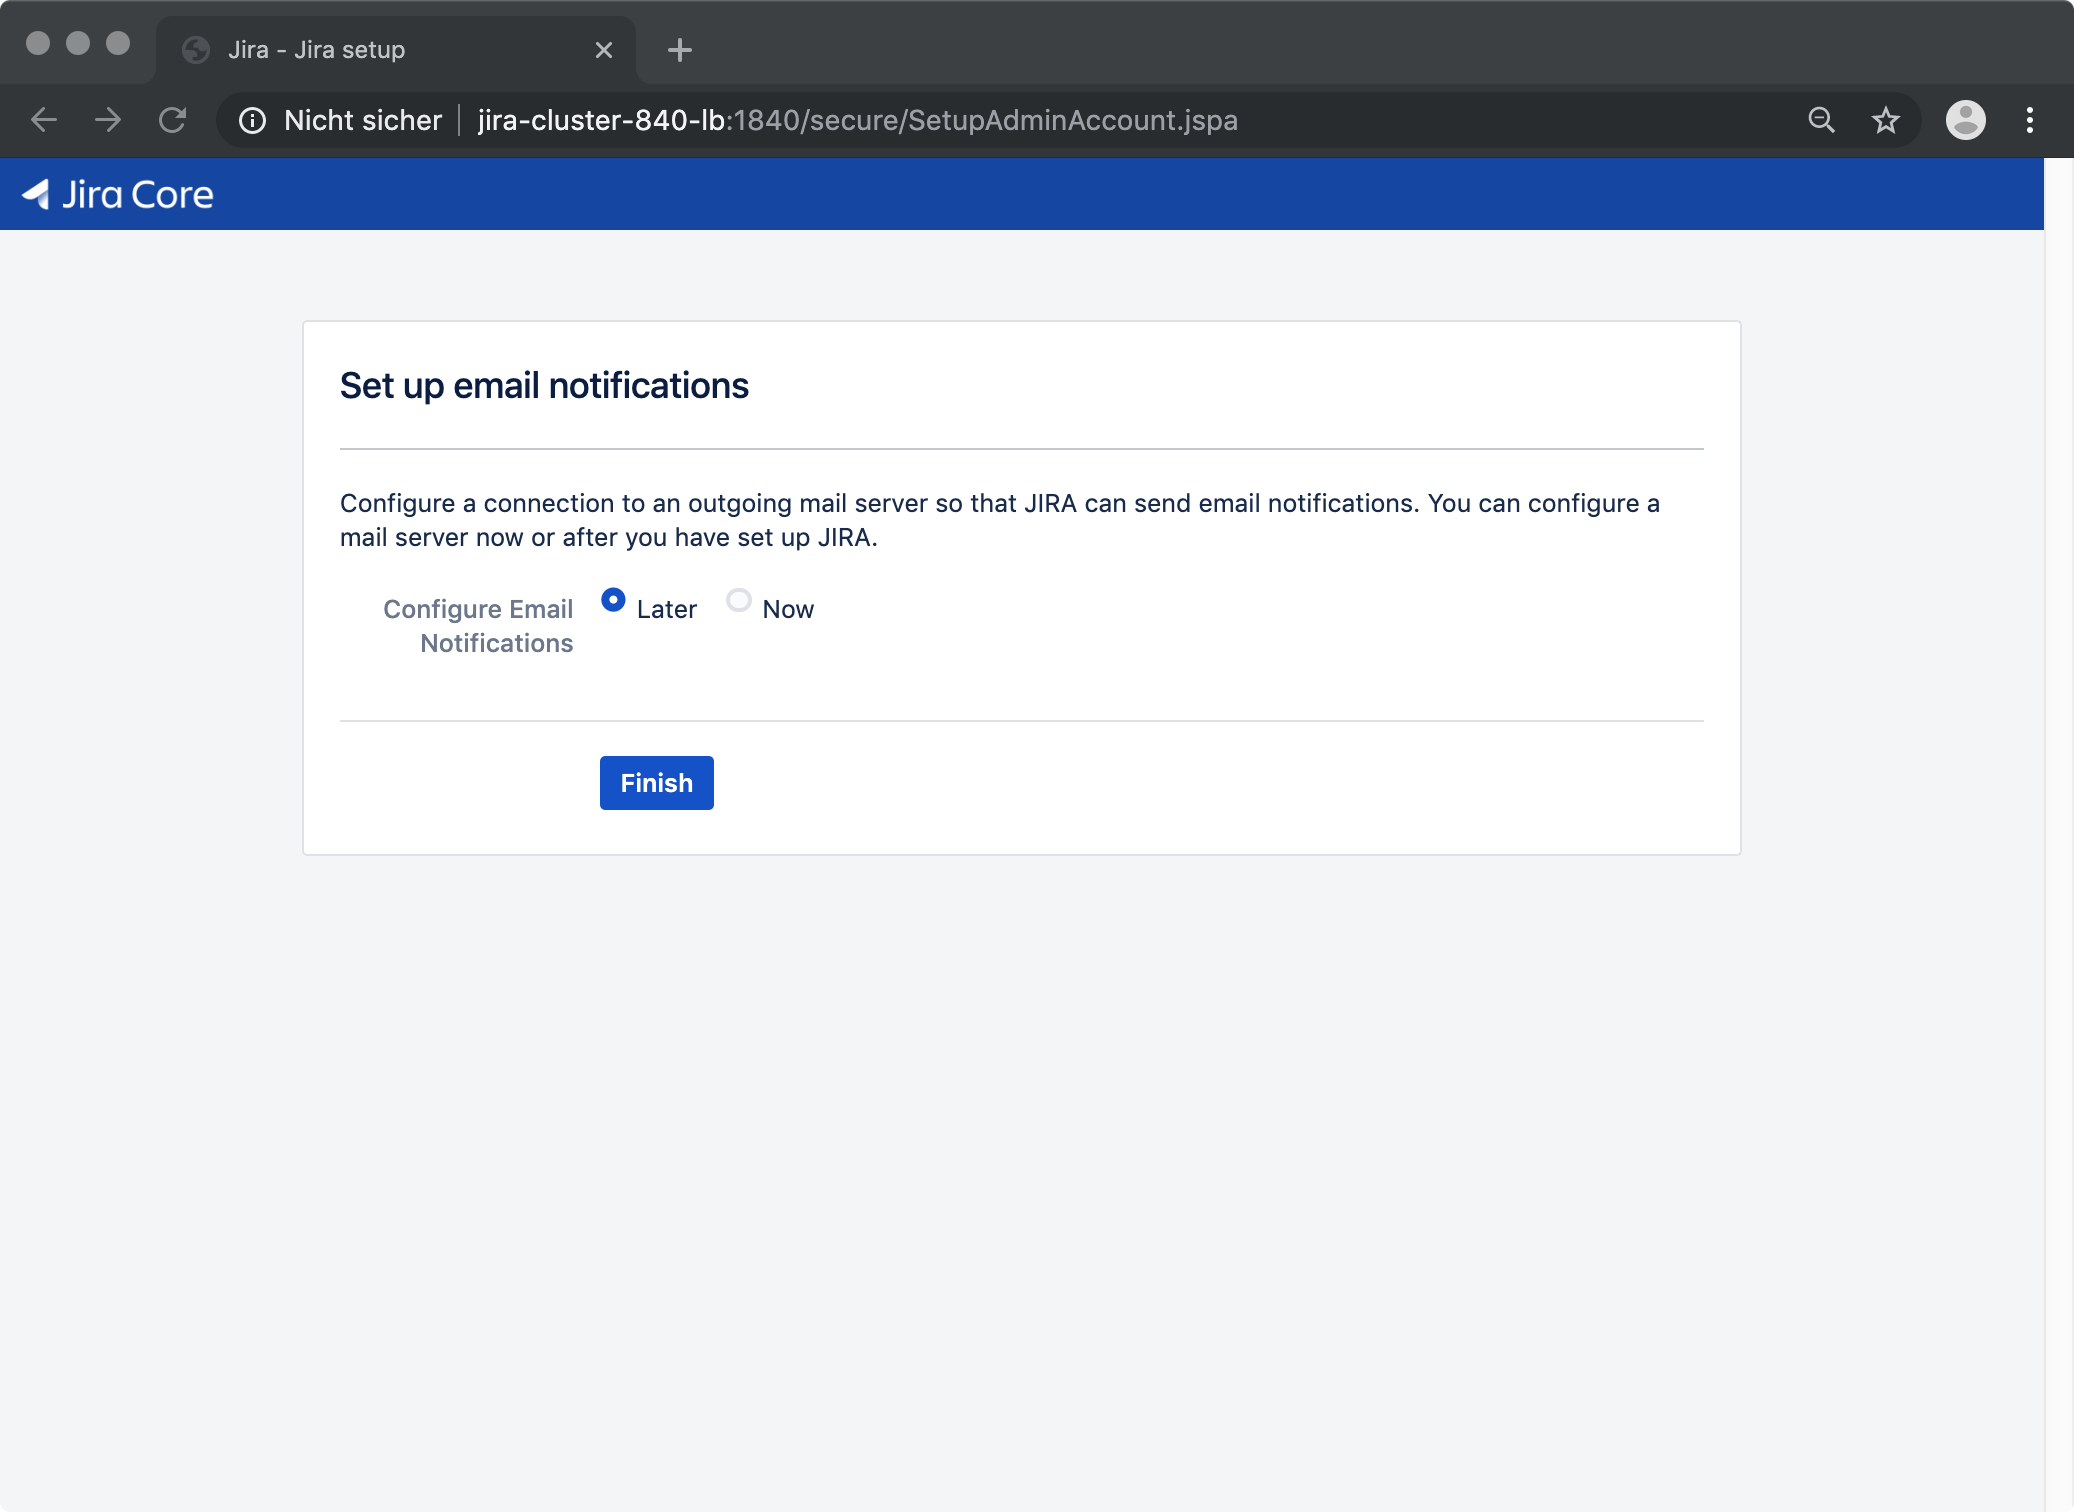
Finish setup.
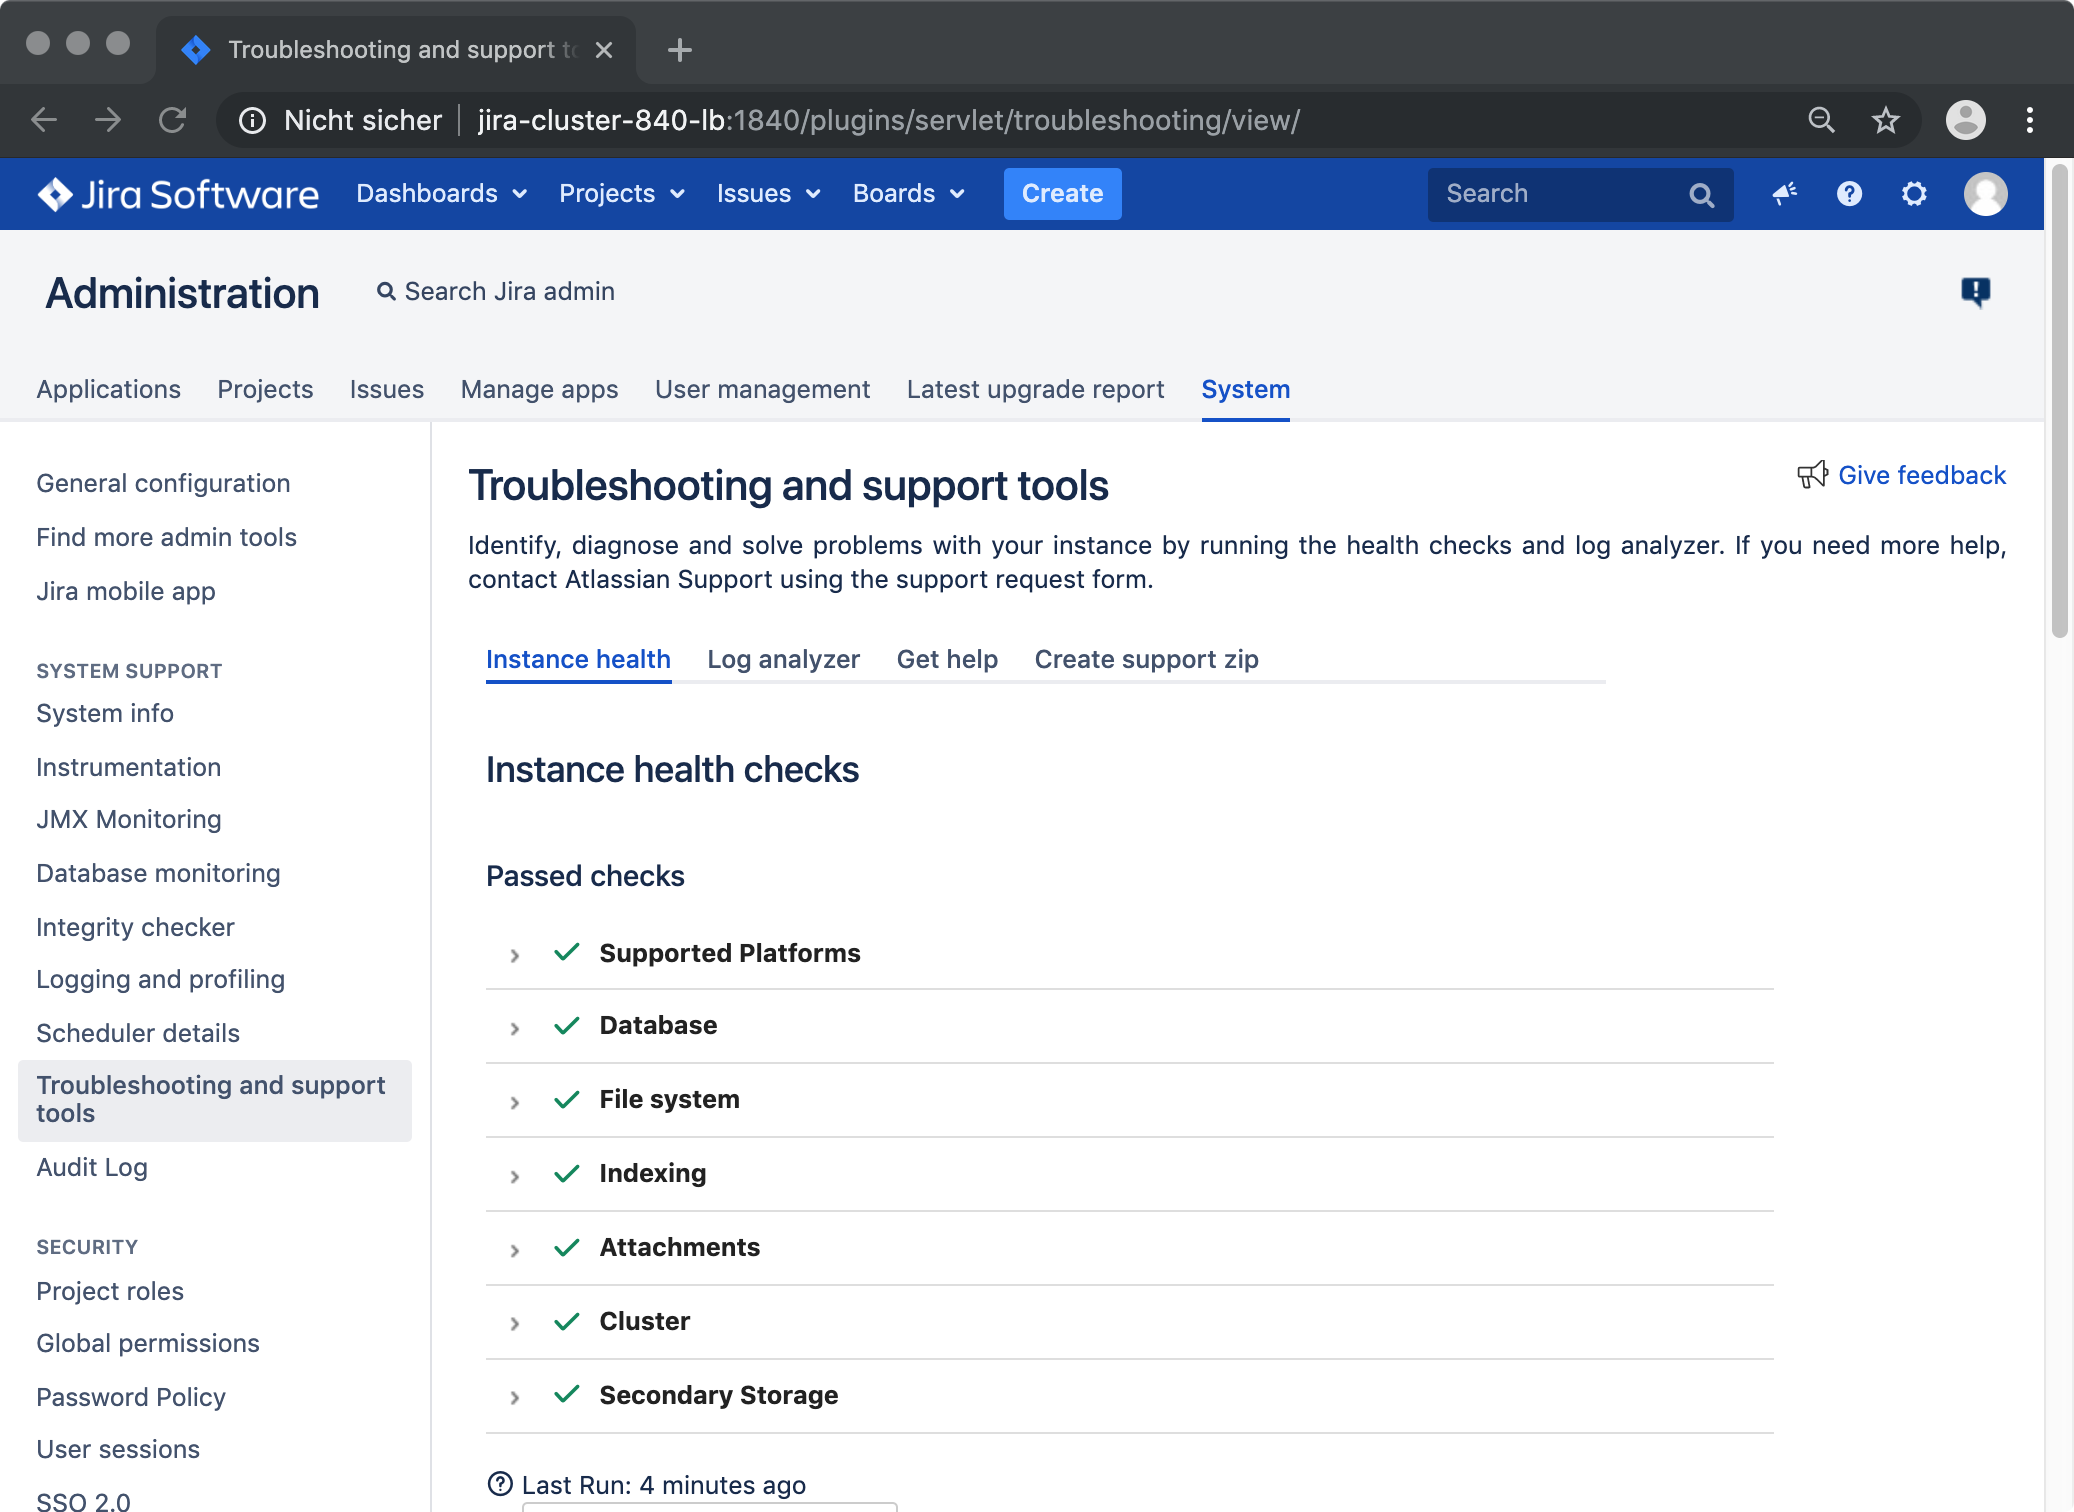
Use the Jira Data Center Health Check Tools
to check the Health of each cluster node. System → Troubleshooting and support Tools → Instance Health tab
(5) Scale Up Cluster - Add Jira Nodes
At first copy the Jira home directory files from node1 to node2. (Not all folder might exist. caches and plugins should.)
cp -R /opt/jira-cluster/8.13.4/jira-home-node1/{data,plugins,logos,import,export,caches} /opt/jira-cluster/8.13.4/jira-home-node2
To startup the second node do:
curl -so docker-compose-two-nodes.yml \
"https://raw.githubusercontent.com/codeclou/docker-atlassian-jira-\
data-center/master/versions/8.13.4/docker-compose-two-nodes.yml"

docker-compose -f docker-compose-two-nodes.yml up -d
docker-compose -f docker-compose-two-nodes.yml restart jira-cluster-8134-lb
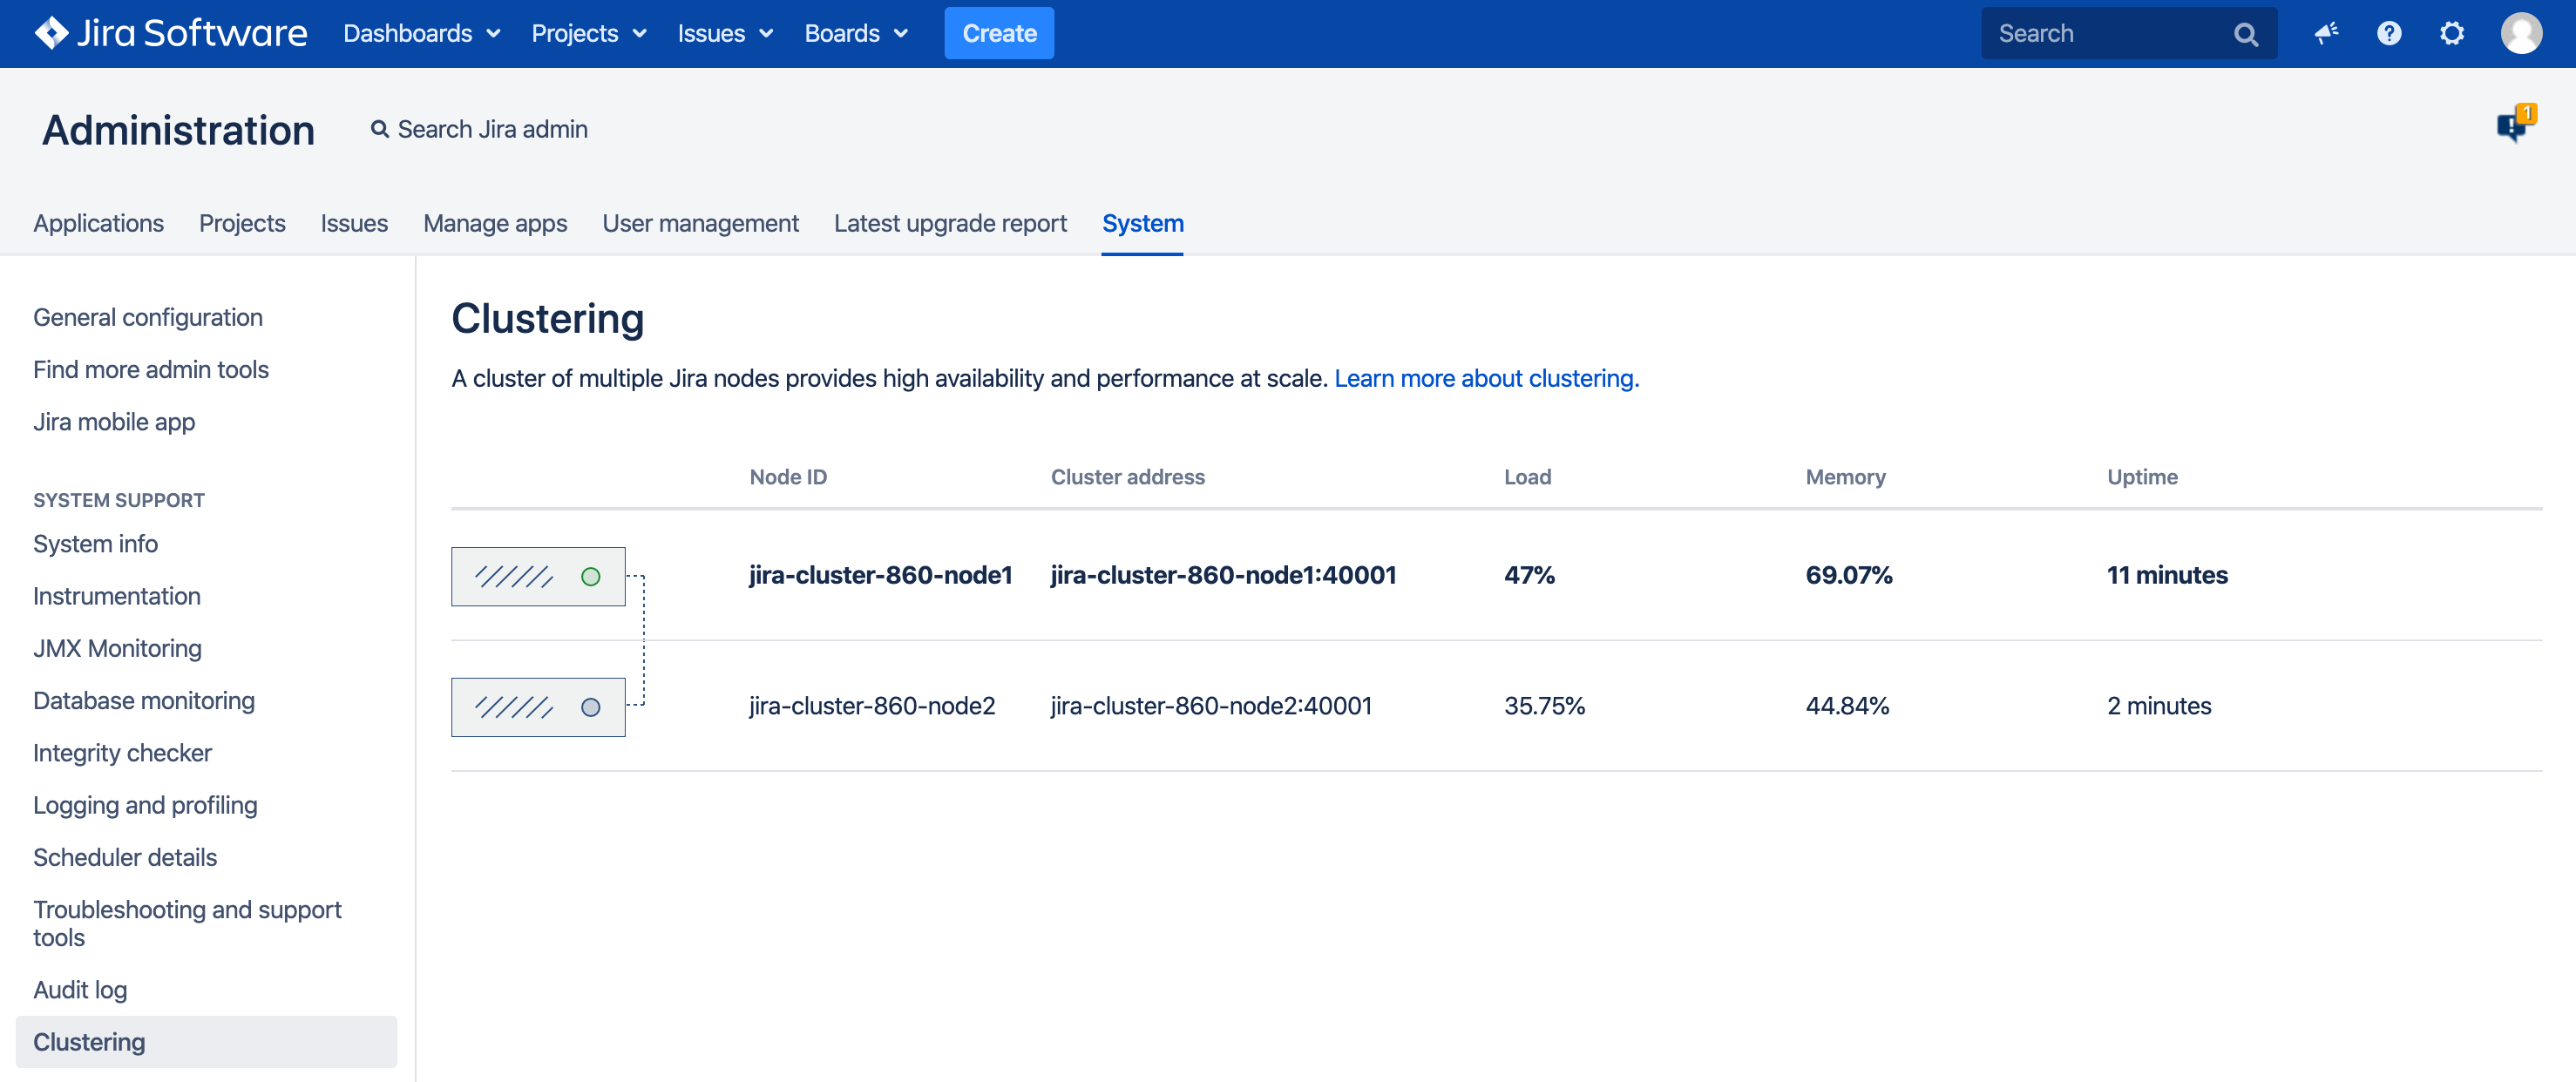
Now you should see both Cluster Nodes as active under System → Clustering
Now scale the cluster up to three nodes.
cd /opt/jira-cluster/8.13.4
mkdir -p /opt/jira-cluster/8.13.4/jira-home-node3
mkdir -p /opt/jira-cluster/8.13.4/jira-home-node4
# If on linux fix permissions for volume mounts
# sudo chown 2001:2001 /opt/jira-cluster/8.13.4/jira-*
At first copy the Jira home directory files from node1 to node3. (Not all folder might exist. caches and plugins should.)
cp -R /opt/jira-cluster/8.13.4/jira-home-node1/{data,plugins,logos,import,export,caches} /opt/jira-cluster/8.13.4/jira-home-node3
To startup the third node do:
curl -so docker-compose-three-nodes.yml \
"https://raw.githubusercontent.com/codeclou/docker-atlassian-jira-\
data-center/master/versions/8.13.4/docker-compose-three-nodes.yml"

docker-compose -f docker-compose-three-nodes.yml up -d
docker-compose -f docker-compose-three-nodes.yml restart jira-cluster-8134-lb
Or even scale up to four nodes.
curl -so docker-compose-four-nodes.yml \
"https://raw.githubusercontent.com/codeclou/docker-atlassian-jira-\
data-center/master/versions/8.13.4/docker-compose-four-nodes.yml"

cp -R /opt/jira-cluster/8.13.4/jira-home-node1/{data,plugins,logos,import,export,caches} /opt/jira-cluster/8.13.4/jira-home-node4
docker-compose -f docker-compose-four-nodes.yml up -d
docker-compose -f docker-compose-four-nodes.yml restart jira-cluster-8134-lb
To check call this multiple times, and it should output the different node ids after some time
curl -I -s http://jira-cluster-8134-lb:18134 | grep X-ANODEID
(6) Shutting down the cluster
cd /opt/jira-cluster/8.13.4
docker-compose -f docker-compose-two-nodes.yml down
This will kill and remove all instances.
Running with ufw and iptables on Ubuntu
If you run docker on ubuntu behind UFW and started docker with --iptables=false then you
need to enable Postrouting in /etc/ufw/before.rules for the network.
Use docker network list to get Network-ID which is then br-NETWORK-ID under ifconfig, where you get the network range in my case 172.18.0.0.
*nat
:POSTROUTING ACCEPT [0:0]
#...
# DOCKER jira-cluster-8134 network
-A POSTROUTING ! -o br-8a831390552b -s 172.18.0.0/16 -j MASQUERADE
#...
COMMIT
Tested under the following Operating Systems:
- Ubuntu 16.04 64 Bit Server
- Docker version 17.03.0-ce, build 60ccb22
- GNU bash, version 4.3.46(1)-release (x86_64-pc-linux-gnu)
- OS X El Capitan
- Docker version 17.03.0-ce, build 60ccb22
- GNU bash, version 3.2.57(1)-release (x86_64-apple-darwin15)
Not tested and not compatible under the following Operating Systems:
- Microsoft Windows
- Atlassian Jira Sofware
- Atlassian®, Jira, Jira Software are registered trademarks of Atlassian Pty Ltd.
- Please check yourself for corresponding Licenses and Terms of Use at atlassian.com.
- Oracle Java
- Oracle, OpenJDK and Java are registered trademarks of Oracle and/or its affiliates. Other names may be trademarks of their respective owners.
- Please check yourself for corresponding Licenses and Terms of Use at www.oracle.com.
- Docker
- Docker and the Docker logo are trademarks or registered trademarks of Docker, Inc. in the United States and/or other countries. Docker, Inc. and other parties may also have trademark rights in other terms used herein.
- Please check yourself for corresponding Licenses and Terms of Use at www.docker.com.
- PostgreSQL
- PostgreSQL is a registered trademark of the PostgreSQL Community Association of Canada.
- Please check yourself for corresponding Licenses and Terms of Use at www.postgresql.org.
- Ubuntu
- Ubuntu and Canonical are registered trademarks of Canonical Ltd.
- Apple
- macOS®, Mac and OS X are trademarks of Apple Inc., registered in the U.S. and other countries.

