2022-11-18

Restoring my Commodore P50 calculator with a little solder and a 3D printer

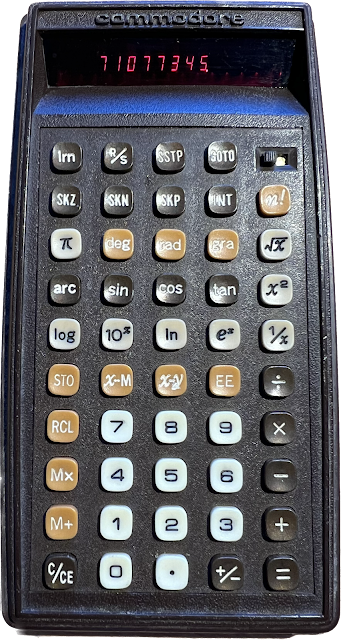
Hot on the heels of me restoring my Rockwell 8R calculator with a small amount of cleaning and a little 3D print, it was time to restore my other 1970s calculator: the Commodore P50. But this restoration required a little more work. 

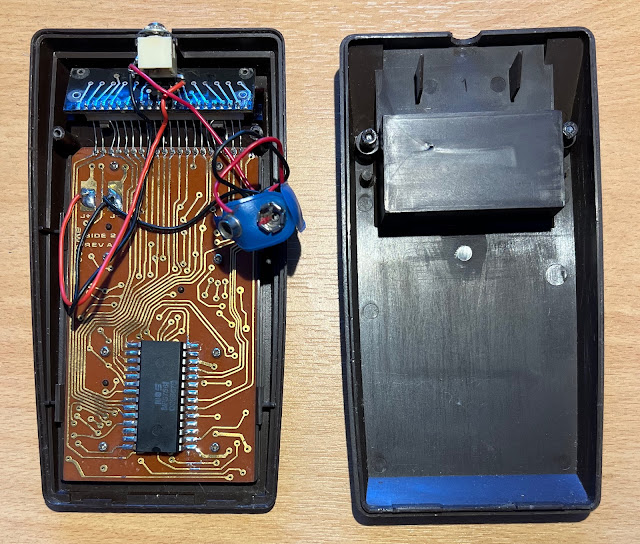
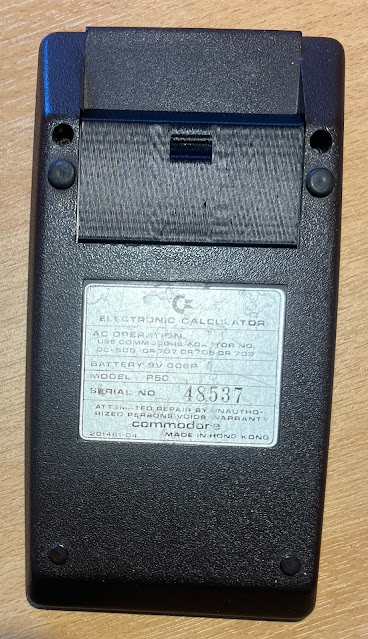
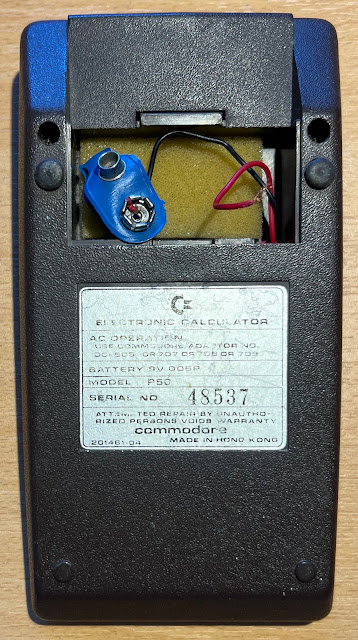
Once again, I'd lost the battery cover but its shape was much more complex than the Rockwell's. Also, the actual battery connector was broken and the keyboard a bit flaky.


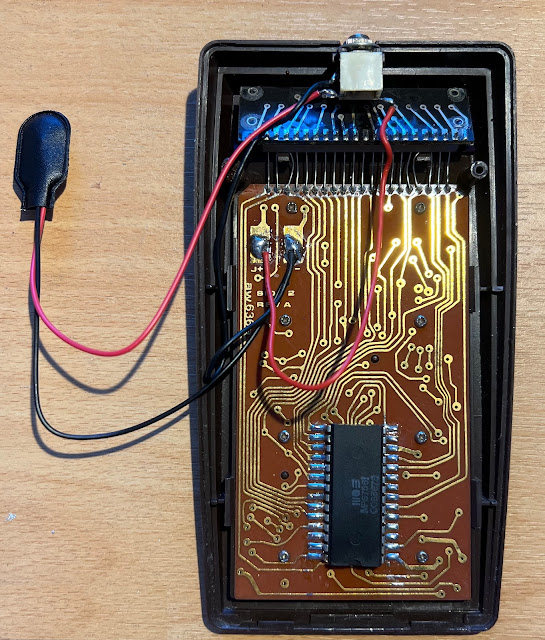
Fixing the battery connector is pretty simple. It's soldered onto two huge pads on the left and it's just a matter of unsoldering, cleaning up and soldering a new one in place.


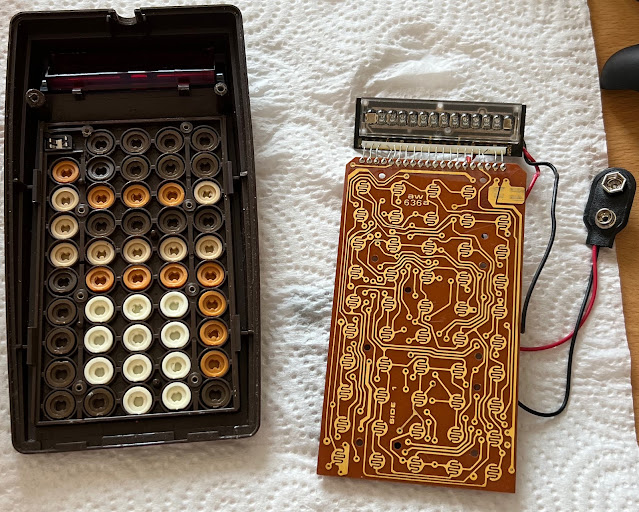
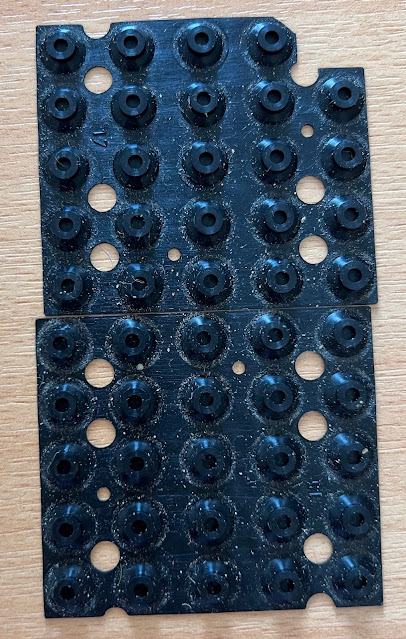
Next up is dismantling the keyboard and cleaning it. The main circuit board is held down by eight screws. Once removed the keyboard comes apart into individual buttons and the rubberized sheet that makes the contacts and makes them spring.

First step was to clean the contacts with alcohol on a cotton bud.


Then I washed and dried the very dirty rubber components which had been gathering crud since the 1970s.


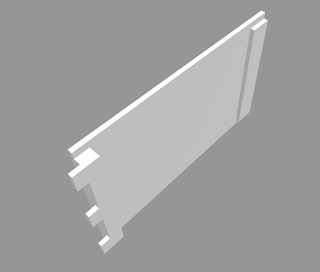
Lastly, the missing battery cover. For this I recreated it (or something like it) in OpenSCAD and 3D printed it. Here are the OpenSCAD instructions for it:

// w is the width of the entire cover

w = 54.5;

// cover is the main part of the cover without the hook or clip.
module cover() {
    linear_extrude(w) hull() {
        translate([0, 28, 0]) square(1.5);
        square(1.5);
        translate([8.5, -5, 0]) square(1.5);
    }
}

hook_width = 20;

// hook is the part the catches at the bottom of the angled piece 
// of the cover
module hook() {
    translate([9.5, -4.5, (w-hook_width)/2])
        linear_extrude(hook_width)
            square([0.5, 4]);
}

clip_width = 13;

// clip is the part that clips in place inside the
// calculator housing
module clip() {
    translate([1.5, 24, (w-clip_width)/2]) union() {
        linear_extrude(clip_width) union() {
            square([2, 12]);
            translate([-1, 8, 0]) square([2, 0.5]);
        }
    }
}

finger_width = 10;

// finger is a small indentation to help you remove the cover
module finger() {
    translate([1, 10, (w-finger_width)/2])
        rotate(180)
            linear_extrude(finger_width)
                polygon([[1, 5], [1, 0], [0, 5]]);
}

difference() {
    cover();
    translate([1.5, 1.5, 0]) cover();
    finger();
}
 
hook();
clip();

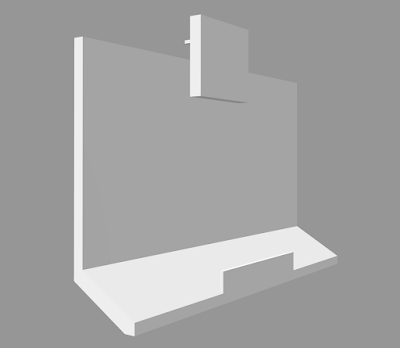
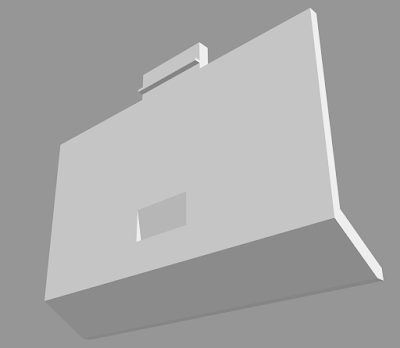
And here's what that looks like:


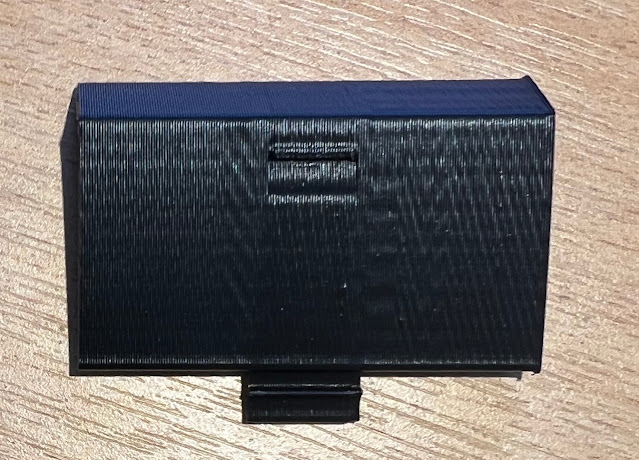
And once printed (I only had black and not brown) looks like this:


And fits beautifully onto the calculator with a satisfying click as the clip locks into place.


And with it all back together I can go off and do important things like program it to identify prime numbers in its incredibly limited space (24 program steps max!).

2022-11-17

Restoring my Rockwell 8R calculator with a 3D printer

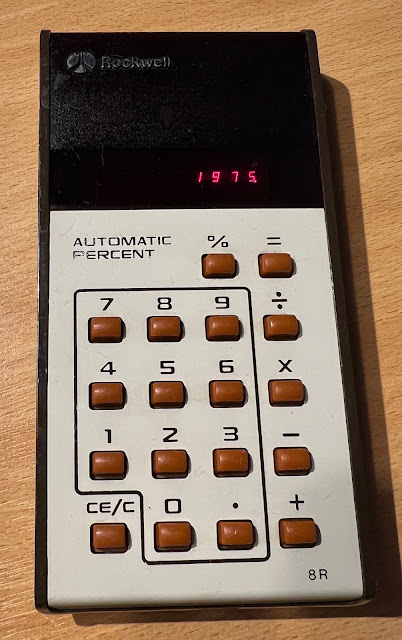
I've owned a Rockwell 8R calculator for a very long time. It was released in 1975 and it seems to have survived the intervening 47 years pretty well. Except that when I was a child I liked to take it apart to examine its innards. Along the way I lost all four screws and the battery cover.


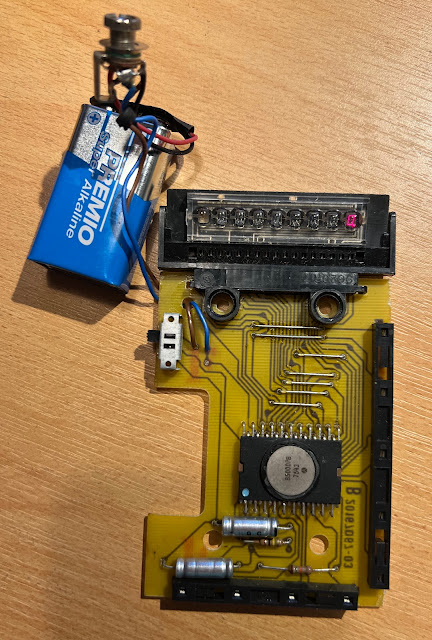
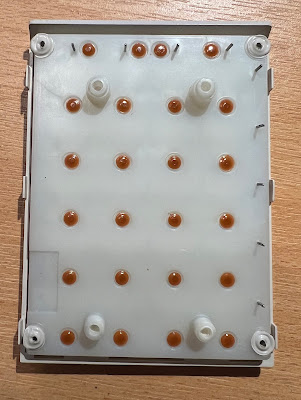
The inside of the calculator consists of a main board with attached screen (with those lovely bubble LEDs) and a keyboard that attaches with spikes around the edge.


The only restoration I did was clean those spikes with some sandpaper and alcohol. But the calculator needed a battery cover. It's a fairly simple design so I whipped one up in OpenSCAD with the following code:

difference() {
    union() {
        linear_extrude(1) square([50.5, 32], true);
        translate([-22.75,0,-1])  linear_extrude(1) 
            square([5, 29], true);
        translate([23.75,0,-2.5]) linear_extrude(3) 
            square([3, 29], true);
    }

    translate([-24.75,0,0]) linear_extrude(1) 
        square([1, 12], true);
}

translate([23.5,10.5,-2.5])  linear_extrude(1) square([4, 4]);
translate([23.5,-2,-2.5])    linear_extrude(1) square([4, 4]);
translate([23.5,-14.5,-2.5]) linear_extrude(1) square([4, 4]);

and then 3D printed it. 


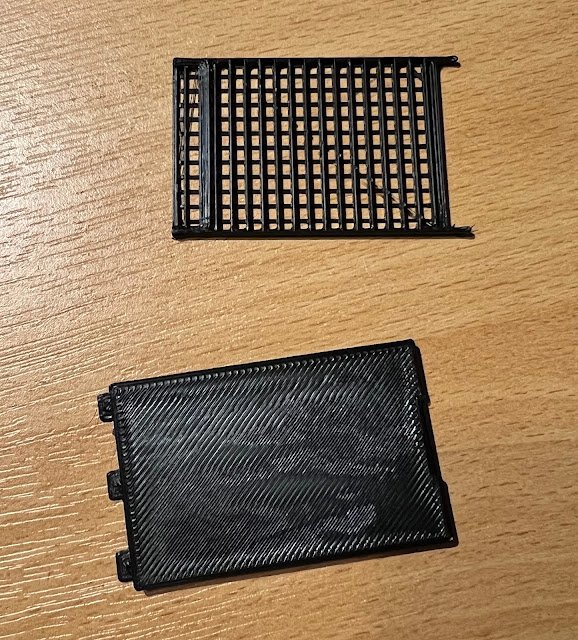
The 3D print (on my Toybox printer) needs support material and has to be separated into two parts (the top part here is the support material that is discarded):


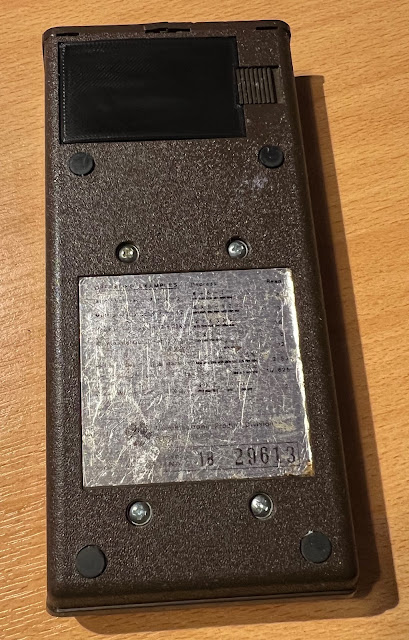
With four screws added the Rockwell 8R is finally whole again:


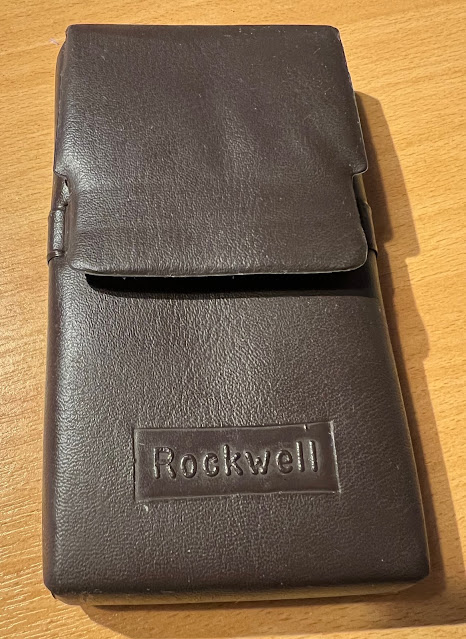
And can be placed in its protective, padded case for another 47 years of use:


If you like calculators you can read about my Commodore P50 (which I'm currently in the process of restoring also... I lost the battery cover for that too!)

2022-11-06

Primality testing on the Commodore P50 programmable calculator with one register and 23 steps

Partly because of when I started writing code (the 1970s), and partly because of money, a lot of my early coding was in very constrained environments. I've written before about programming some industrial machinery using a KIM-1. However, the most constrained environment I've coded on is the Commodore P50 programmable calculator in the late 1970s.

Its programming capabilities are very, very limited. There's a single 'register' (the standard memory function of the calculator) and only 24 steps (which are for the most part single presses of a key) are programmable. For example, if your program needs the constant 1234 that's four steps out of 24 taken up!


It was great for writing a program that is just a function that you need to evaluate for multiple values of x. For example, you can store the function sin(1/x) like this:

   lrn
   1/x
   SIN
   R/S
   GOTO 00
   
lrn

And then enter a number and press R/S to evaluate sin(1/x). lrn puts the calculator in programming mode and then can accept up to 24 keystrokes. R/S causes the program to terminate. 

Adding in line numbers shows that the GOTO takes the program back to the start. This is done because if you run a program and hit R/S again it continues where it left off which could result in an error if the program previously terminated in the middle somewhere.

      lrn
   00 1/x
   01 SIN
   02 R/S
   03 GOTO
   04 00
      
lrn

Notice how GOTO 00 takes two of 24 steps!

Loops

You can easily write simple loops. For example, if you wanted to plot sin(1/x) for x starting at 0.001 in increments of 0.001 you'd write (STO stores a number in the memory, RCL gets it from memory)

      lrn
   00 0
   01 STO
   02 RCL
   03 +
   04 .
   05 0
   06 0
   07 1
   08 =
   09 STO
   10 1/x
   11 SIN
   12 R/S
   13 GOTO
   14 02
      lrn

This program uses the memory to store 0.001, 0.002, 0.003, ... and stops outputting sin(1/0.001), sin(1/0.002), sin(1/0.003), ... Hitting R/S obtains the next result.

Conditional branching

The calculator also has three conditional branch operations SKZ, SKN, SKP (skip zero, skip negative, skip positive) which simply skip the next instruction if the displayed number is zero, negative or positive. Here's a program that calculates x modulo y. x is the number on screen when the program is run and y should be stored in the memory beforehand.

Since  SKZSKNSKP only skip the next instruction they are most commonly followed by a GOTO somewhere else.

      lrn
   00 -
   01 RCL
   02 =
   03 SKN
   04 GOTO 
   05 00
   06 +
   07 RCL
   08 =
   09 R/S
   10 GOTO
   11 00
      lrn

This program runs extremely slowly even though it just does integer addition and subtraction. 89 modulo 5 takes almost 12 seconds to calculate. 

Is this number a prime?

But I'm not letting that deter me. Here's a complete program that returns 1 if the number being tested is prime, or returns a number that divides it if not.

The program divides the x by numbers from sqrt(x) to 2 looking for a divisor. 

      lrn
   00 RCL
   01 -
   02 INT
   03 *
   04 4
   05 10^x
   06 

   07 RCL
   08 INT
   09 -
   10 INT
   11 =
   12 SKZ
   13 GOTO 
   14 18
   15 RCL
   16 INT
   17 R/S
   18 1
   19 +/-
   20 M+
   21 GOTO
   22 00
      lrn

Unfortunately, it requires a little bit of set up by the user. Because the calculator has only one register (the memory) I am forced to store both the original number, x, being divided, and the current divisor, d, being tested in the memory. This is done by storing d + x/10000 in the memory. Thus the program only works to test numbers up to 9,999 (it can easily be extended by changing the number in step 4 above).

Lines 00 to 08 retrieve the number and trial divisor from memory and divides the former by the latter. Lines 09 to 12 determine whether the result is an integer or not (by subtracting the integer part of the result from itself). Lines 15 to 17 are where the program halts when a divisor is found. Lines 18 to 22 subtract one from the trial divisor and loop back to the start.

So, suppose the program is testing if 11 divides 198. The memory would contain 11.0198. Here's what's on screen at each program step (note that the display does not show anything when really running a program but will if you use the single step, SSTP, key) 

Since 11 does divide 198 the program will terminate at step 17.

   00 RCL               11.0198
   01 -                 11.0198
   02 INT               11
   03 *                  0.0198 
   04 4                  4
   05 10^x           10000
   06 
               198
   07 RCL               11.0198
   08 INT               11
   09 -                 18
   10 INT               18
   11 =                  0
   12 SKZ
   13 GOTO 
   14 18
   15 RCL               11.0198
   16 INT               11
   17 R/S               11
   18 1
   19 +/-
   20 M+
   21 GOTO
   22 00

Now, here's what happens when testing if 12 divides 198 (which it doesn't). The memory would contain 12.0198. Once again, here's the step by step.

   00 RCL               12.0198
   01 -                 12.0198
   02 INT               12
   03 *                  0.0198 
   04 4                  4
   05 10^x           10000
   06 ➗                198
   07 RCL               12.0198
   08 INT               12
   09 -                 16.5
   10 INT               16
   11 =                  0.5
   12 SKZ
   13 GOTO 
   14 18
   15 RCL               
   16 INT               
   17 R/S               
   18 1                  1
   19 +/-               -1
   20 M+                -1
   21 GOTO
   22 00

This time the SKZ doesn't happen so the GOTO 18 occurs. The memory is decremented by 1 and the program loops back to the start with 11.0198 in memory.

To use the program the operator needs to store the number being tested and its square root in the memory. Thus they need to perform the following to set up the memory correctly after entering the number they want tested.

   STO
   √x
   INT 
   *
   4
   10^x
   =
   M+
   4
   +/-
   10^x
   Mx

They can then hit R/S and wait... a long time. For example, determining if 199 is prime (it is) takes... 1m44s.


But, at least I know it is possible to fit a primality testing program in 23 steps with a single register.