I like to use basting spray for my quilting projects. I find that not only is it faster, but I get better results. So continuing in my "Quilt Basics" series, here is how I prepare my quilts for quilting. I baste my quilts on carpet, but you can use masking tape instead of T-pins if you are basting on tile or linoleum.
1. Prepare your quilt top, backing and batting. Your backing should be 2-3 inches larger on all sides than your quilt top. Your batting should be about the same size as your backing, but may be a little smaller as long as it is still bigger than your quilt top. Press both your backing and your top. I like to use spray starch on my backing. It helps the quilt move more smoothly under the head of the machine as well as gets out wrinkles/the fold.
2. Check for any loose threads - especially dark threads that may show through lighter fabrics. Carefully snip those threads without snipping through your project. I find this the most tedious part of quilting, but it is necessary. I have found that if I baste a quilt shortly after it is pieced that I have less threads to snip.
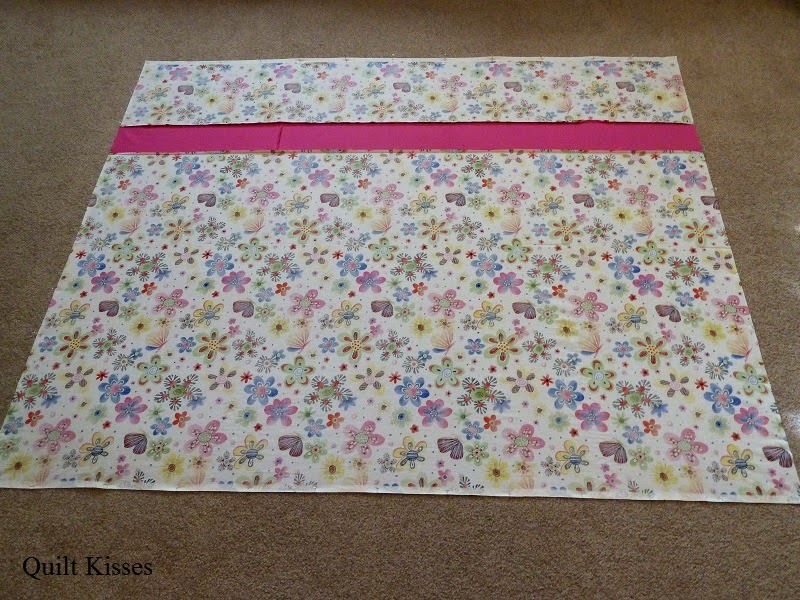
3. Lay your backing right side down on the floor.
4. Using small T-pins, start pinning one side of your quilt top. Start in the center and then work toward each corner. If my backing has a selvage, I like to pin that side first. Please remember, that your fabric should be taunt, but not stretched.
 |
| I have been using these pins for years. Some of them are bent, but they still hold the fabric in place. |
6. Pin the third side. If I have pieced my backing, I like to put a pin in each seam allowance. It helps to reduces stress on the seam. Work from the center to the corners. At times I need to adjust the corner pin to work out a small ripple.
7. Pin the fourth side. Once you are finished pinning the backing to the floor, you should not see any ripples.
8. Place the batting down and center it over the backing. (I am using Hobbs 80/20 for this project.)
9. Place a T-pin in the center of the batting on two opposite sides to keep the batting centered as it is basted.
10. Fold the batting in half. Lightly mist the batting with quilt basting spray. Keep the spray pointed towards the center of the quilt at all times, and be careful of overspray. You can line the edges of your quilt with newspaper to catch any extra spray, but I have not found it necessary. If I barely push down to let the spray out, I don't have much of a problem.
11. Gently place the batting back over the backing, being very careful not to stretch the batting. (If you stretch your batting, it will eventually relax and can cause puckers and tucks on the back of the quilt. Speaking from experience...) Starting in the center of the quilt, gently spread the sticky batting over the backing.
12. Then repeat for the other side. Spray the batting, gently fold it over, and smooth it out.
13. This is what the batting looks like all nice and sticking to the backing.
14. Center the quilt top over the batting pretty side up.
15. If you have pieced your backing and want to keep it straight with the top, measure from the seam on the backing to the seam on the top. Do this on both sides, putting a pin through the top to keep it from shifting.
16. Fold the top of the quilt in half, and lightly mist the back of the quilt top with quilt basting spray. I try to spray whatever is smaller to prevent the edges of the batting around the quilt top from getting sticky.
17. Gently fold the sticky top on the batting. Smooth it out being careful not to stretch it. Here you can see how nicely the yellow and orange are basted to the batting, but the green and blue still ripple as they have not be sprayed yet.
18. Repeat for the other half of the quilt top: Fold it in half, lightly mist the back of the quilt top, gently put it back, and smooth it out.
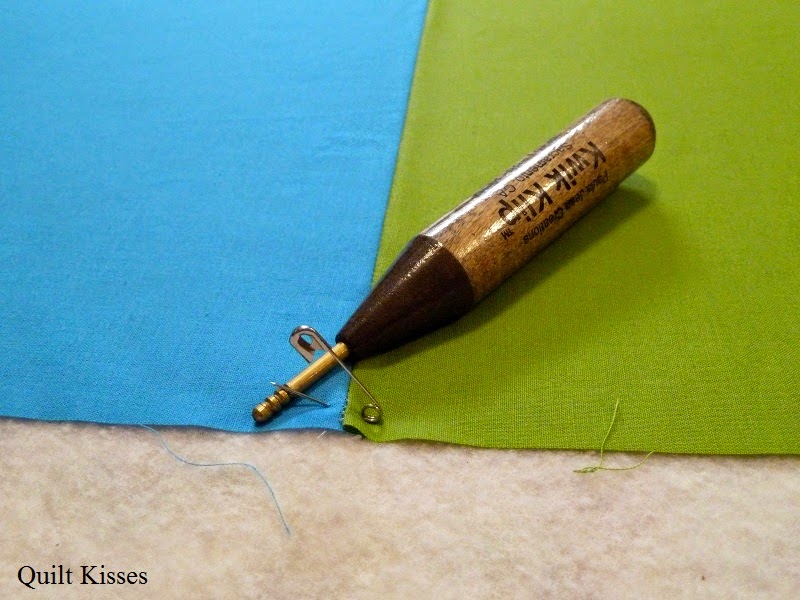
19. Because I always point the basting spray towards the center of the quilt, the edges do not get very much spray. I always pin around the edges to keep them from shifting. The Kwik Klip is wonderful for helping close the safety pins. (I use straight safety pins, because that is what I have on hand. I have heard that many others love the curved safety pins.)
20. Normally, I just pin around the edges of the quilt. However, I will be using this quilt for demonstrations in a Free Motion Quilting Basics class I am teaching at my local quilt shop. So I added a few pins to the center of the fat quarters.
21. Take out the T-pins and your quilt sandwich is ready to be quilted! (That is one of my favorite parts.)
Note: When I am using minky for my backing I do these same exact things. Half of the time I add extra pins to the center of the quilt, and half of the time I don't. I do put batting in those quilts: either Hobbs 80/20 or a 100% cotton batting like Warm and White.
I do things slightly different if I am preparing a small piece, like muslin fat quarters for machine quilting practice and tension checks.
Sometimes I will pin baste, but it doesn't require very many pins.
1. Layer the backing, batting and top together on your cutting mat. It is okay if they are the same size, because this is just for practice.
2. Smooth out the three layers.
3. Put a few pins in around the edges and the center. These pins are about 7 inches apart, which is an okay distance on a practice piece. I have always heard that pins should be a fist apart (3-4 inches) on a real quilt project.
However, most of the time I spray baste even my small quilt sandwiches.
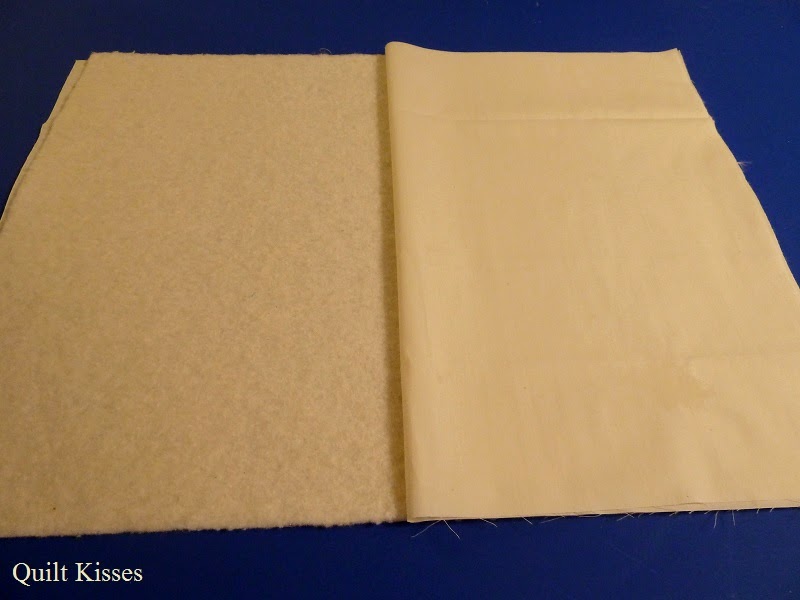
1. Lay the backing down on the back of your cutting mat. Lay the batting down next. Fold the batting in half, and lightly mist the batting with basting spray. Keep the spray pointed towards the center and push down on the can lightly to prevent overspray. Gently smooth the batting over the backing. Repeat for the other half of the batting.
2. Lay the top down over the batting. Fold it in half. Because they are the same size, I lightly spray the batting. (I try to spray whatever is smaller most of the time to prevent the edges from getting sticky. But when they are the same size, I prefer to spray the batting.) Gently smooth the top down over the batting. Repeat for the other side.
3. Then it is ready for quilting. Because it is so small (18 x 21 inches) and only for practice I don't worry about adding any pins. I must admit that this is what I prefer to do for all of my practice quilt sandwiches. What can I say? I love basting spray!
I hope this was helpful. Please let me know if you have any questions.
XX,
Jasmine


